ud83dudcda Bathroom Renovation Series u2014 19 of 25
u2190 Bathroom Renovation Vol.18: Wallpaper Finishing Pt.1 u00b7 Series Index u00b7 Bathroom Renovation Vol.20: Vanity Installation Pt.1 u2192
u270fufe0f Originally published: 2016-12-11 / ud83dudd04 Rewritten: May 8, 2026
u270fufe0f 2026 Update from DIY Dad: Finishing Touches on the Bathroom/Laundry Room
ud83duded2 RECOMMENDED PRODUCTS
Mold-Resistant Bathroom Caulk
Re-caulk every 3u20135 years. Black mold on caulk is the #1 tenant complaint in Japan.
We’re in the finishing stretch of the bathroom/laundry room renovation. Wallpaper and vanity installation are the phases that demand the most precision.
Wallpaper Tips for Wet Areas
ud83duded2 RECOMMENDED PRODUCTS
Bathroom Vanity & Mirror Cabinets
Mirror cabinets add storage and light u2014 tenants notice immediately.
Unlike the rest of the house, wet areas need mold- and moisture-resistant wallpaper u2014 no exceptions. The bathroom/laundry room is exposed to bath steam, washing machine vapor, and sink splashes.
DIY Dad’s wallpaper selection criteria
- Anti-mold and antibacterial treatment
- Wipeable surface (vinyl wallpaper is ideal)
- Light color u2014 white to light gray
- At least 1.0mm thick
Vanity Installation Key Points
Level, connect, caulk u2014 the three essentials. The most common problem is a drain trap mismatch; check drain type before purchasing your unit.
Landlord’s Perspective: Cost vs. Return
ud83duded2 RECOMMENDED PRODUCTS
Grout Cleaners & Tile Restoration
Clean grout transforms a dated bathroom without any demolition.
Materials-only cost: approx. 250,000 yen. Contractor price: 800,000 to 1,200,000 yen. DIY saves 550,000 to 950,000 yen u2014 and every project builds skills for the next one.
ud83dudebf For Anyone Considering a Wet Area Renovation
Confirm pipe types and dimensions before you start.
![]()
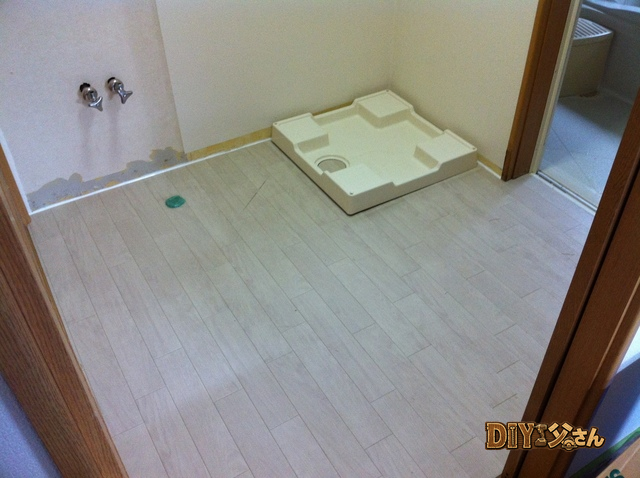
Hi, it’s DIY Dad! Continuing the first-floor bathroom/laundry room renovation u2014 after the ceiling wallpaper, now the walls.
Wall sections are much easier than the ceiling. After two or three panels you get the feel for it. The bathroom/laundry room is small, but the walls are broken up by the door, window, and electrical panel u2014 which means fewer large flat runs and more fiddly cuts.
My strategy: tackle the large sections across all rooms first, then come back and fill in the small sections using offcuts. This minimizes waste. That said, I pushed the strategy a bit too hard and started running low on material for some smaller patches.
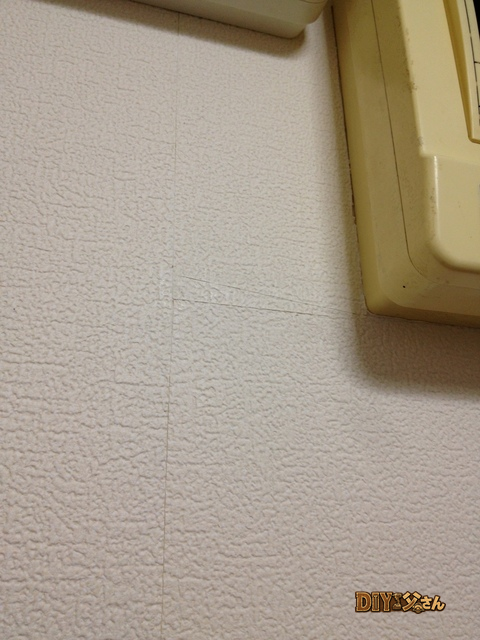
The area around the electrical panel in particular ended up being a patchwork quilt of offcuts.

Around the electrical panel.
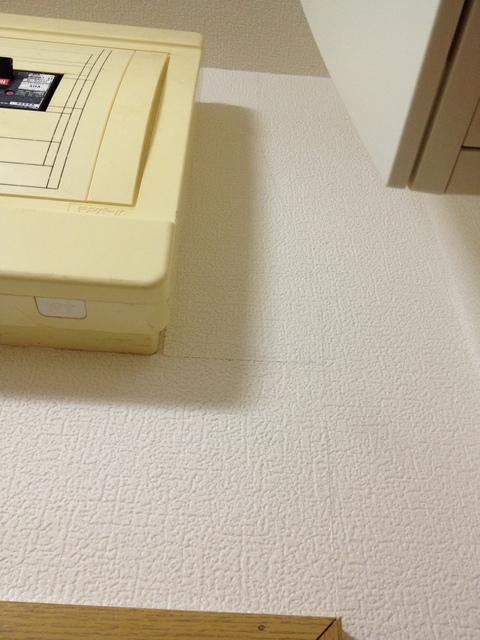
Electrical panel area u2014 finished.
Got through it in the end. But the wall behind where the vanity will go is looking a little thin on material. Going to have to get creative with how I cover that area. Stay tuned u2014 that’s all for today!
ud83dudcda Bathroom Renovation Series u2014 19 of 25
u2190 Bathroom Renovation Vol.18: Wallpaper Finishing Pt.1 u00b7 Series Index u00b7 Bathroom Renovation Vol.20: Vanity Installation Pt.1 u2192
DIY Renovation Quote Review Manual
How to read, compare, and negotiate contractor quotes. This manual saved me u00a5800,000 on a single renovation project.
ud83cudfe0 More from DIY Father
15 years of landlord experience u00b7 3 apartment buildings u00b7 DIY renovations that saved millions of yen. Browse all articles at diytosan.com