ud83dudcda Bathroom Renovation Series u2014 20 of 25
u2190 Bathroom Renovation Vol.19: Wallpaper Finishing Pt.2 u00b7 Series Index u00b7 Bathroom Renovation Vol.21: Vanity Installation Pt.2 u2192
u270fufe0f Originally published: 2016-12-12 / ud83dudd04 Rewritten: May 8, 2026
u270fufe0f 2026 Update from DIY Dad: Finishing Touches on the Bathroom/Laundry Room
ud83duded2 RECOMMENDED PRODUCTS
Mold-Resistant Bathroom Caulk
Re-caulk every 3u20135 years. Black mold on caulk is the #1 tenant complaint in Japan.
We’re in the finishing stretch of the bathroom/laundry room renovation u2014 wallpaper up, vanity being installed. This is the phase that demands the most precision.
Wallpaper Tips for Wet Areas
ud83duded2 RECOMMENDED PRODUCTS
Bathroom Vanity & Mirror Cabinets
Mirror cabinets add storage and light u2014 tenants notice immediately.
Unlike the rest of the house, wet areas need mold- and moisture-resistant wallpaper u2014 no exceptions.
DIY Dad’s wallpaper selection criteria
- Anti-mold and antibacterial treatment (listed on the label for brand-name products)
- Wipeable surface (vinyl wallpaper is ideal)
- Light color u2014 white to light gray (feels clean, makes the room look larger)
- At least 1.0mm thick (thin wallpaper telegraphs every bump in the substrate)
Vanity Installation Steps
The three essentials: level, connect, caulk.
- Place the unit in position and check for level front-to-back and side-to-side
- Connect supply lines to hot and cold shutoff valves (braided flex hose or shower hose)
- Connect the drain trap (S-trap or P-trap)
- Screw the unit to the wall
- Apply caulk along the gap between vanity and wall
- Run water and check for leaks
The most common problem is a drain trap mismatch. Check the existing drain type (floor drain vs. wall drain) before purchasing your vanity u2014 you may need an adapter.
Finishing with the Washing Machine and Storage Shelf
ud83duded2 RECOMMENDED PRODUCTS
Grout Cleaners & Tile Restoration
Clean grout transforms a dated bathroom without any demolition.
Washing machine: connect drain hose to drain pan, earth the appliance. Storage shelf: screw into studs or solid backing u2014 never drywall alone.
Landlord’s Perspective: Cost vs. Return
Total materials cost: approximately 250,000 yen. Contractor price for the same work: 800,000 to 1,200,000 yen. DIY Dad considers every renovation project an investment.
ud83dudebf For Anyone Considering a Vanity or Wet Area Renovation
Confirm pipe types and dimensions before you start u2014 that’s the most important step.
![]()
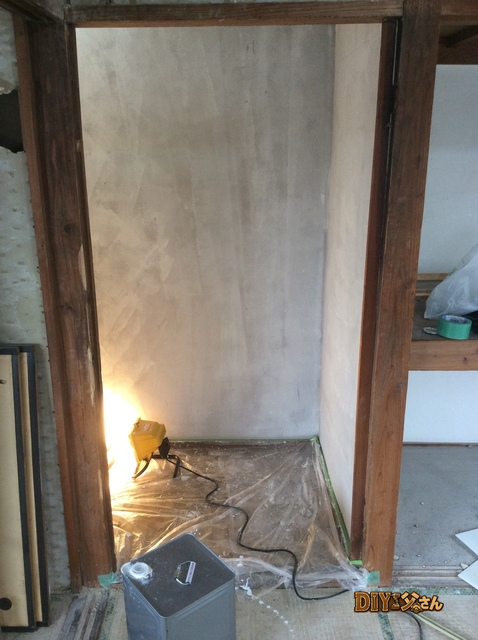
Hi, it’s DIY Dad! Continuing the first-floor bathroom/laundry room renovation u2014 after finishing the wallpaper, it’s time to install the vanity.
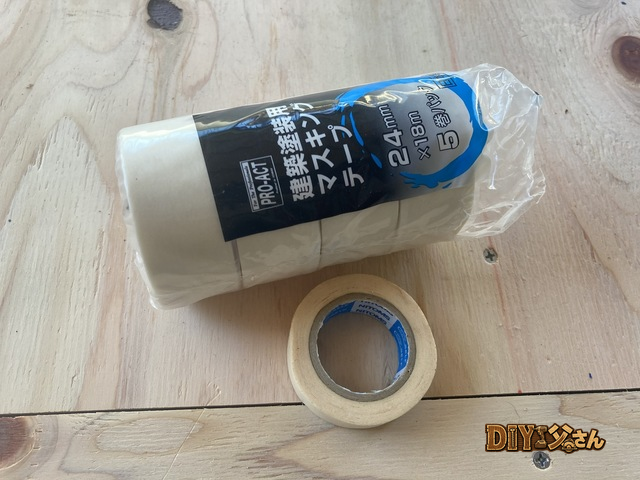
Tools and materials: vanity unit, impact driver, utility knife, water pump pliers, thread seal tape.
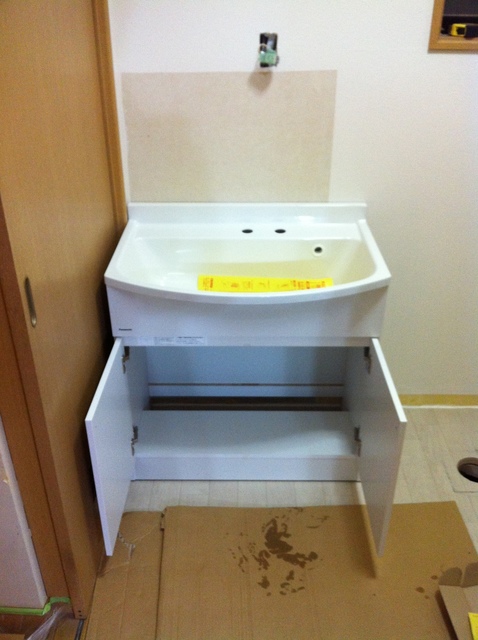
The back panel and shelf floor of this vanity have no pre-cut holes for supply lines or drain. I need to make those openings myself. First I position the vanity, mark the supply and drain locations, then cut the openings with a utility knife.
With the cutouts done, installation begins. The vanity base goes in first.
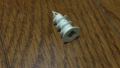
I open the cabinet doors and drive screws through the back panel into the wall blocking. Then I wrap thread seal tape around the threaded supply fittings u2014 about five clockwise wraps, keeping it taut. Next, I attach the supply valve handles and water supply nozzles.
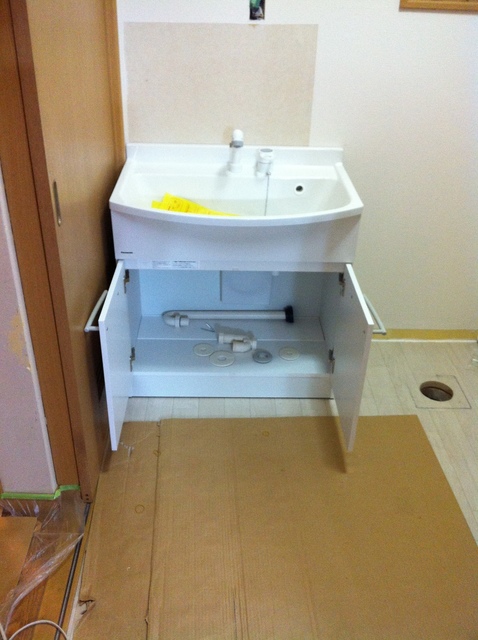
Hot and cold supply hoses connected. The drain pipe slides into the drain outlet and the gap is sealed with a rubber gasket.
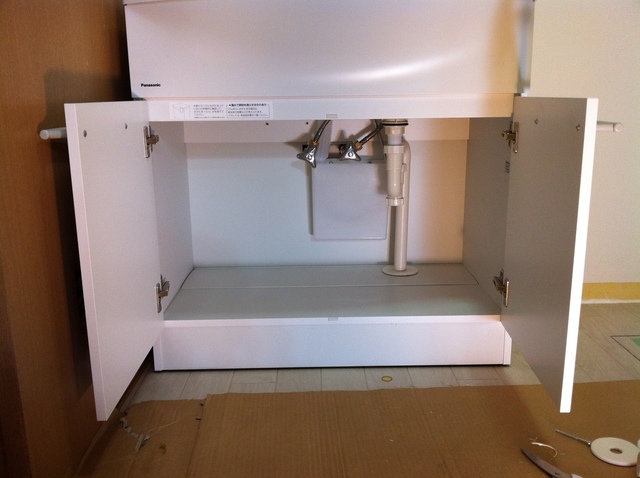
Drain connection.
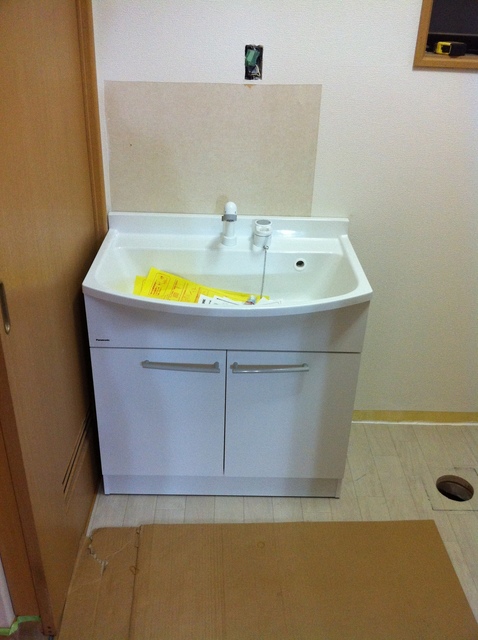
Vanity installed. For pricing and specs on this vanity, see the DIY Dad Equipment Guide u2014 Bathroom/Laundry Room Edition. That’s all for today u2014 see you next time!
ud83dudcda Bathroom Renovation Series u2014 20 of 25
u2190 Bathroom Renovation Vol.19: Wallpaper Finishing Pt.2 u00b7 Series Index u00b7 Bathroom Renovation Vol.21: Vanity Installation Pt.2 u2192
DIY Renovation Quote Review Manual
How to read, compare, and negotiate contractor quotes. This manual saved me u00a5800,000 on a single renovation project.
ud83cudfe0 More from DIY Father
15 years of landlord experience u00b7 3 apartment buildings u00b7 DIY renovations that saved millions of yen. Browse all articles at diytosan.com