ud83dudcda Living Room Renovation Series u2014 2 of 20
u2190 Living Room Renovation Vol.1: Project Overview u00b7 Series Index u00b7 Living Room Renovation Vol.3: Intercom Removal u2192
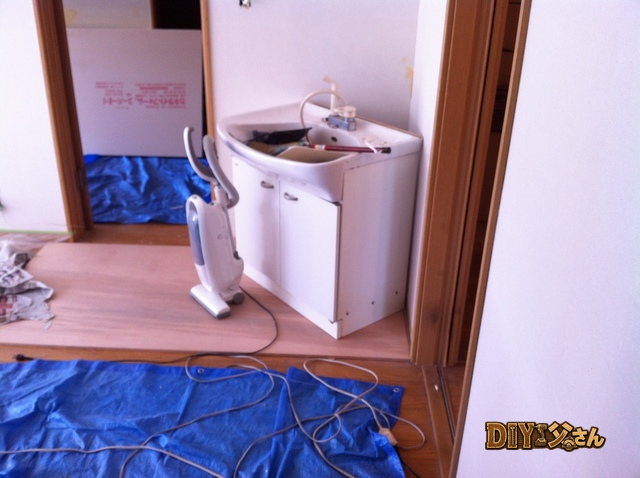
Hi there u2014 DIY Dad here! Continuing the first-floor living room renovation. Just like we did in the entryway, the first task before stripping the wallpaper is removing everything attached to the walls. In the living room that means switch and outlet panels, the light fixture, and the curtain rails. Tools and materials: impact driver, screwdriver, and masking tape.
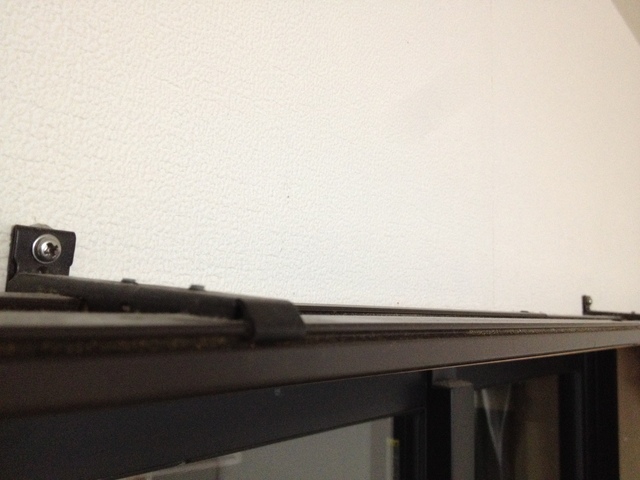
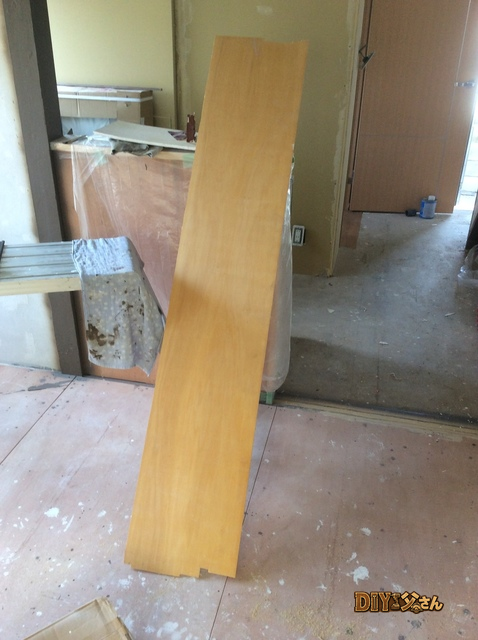
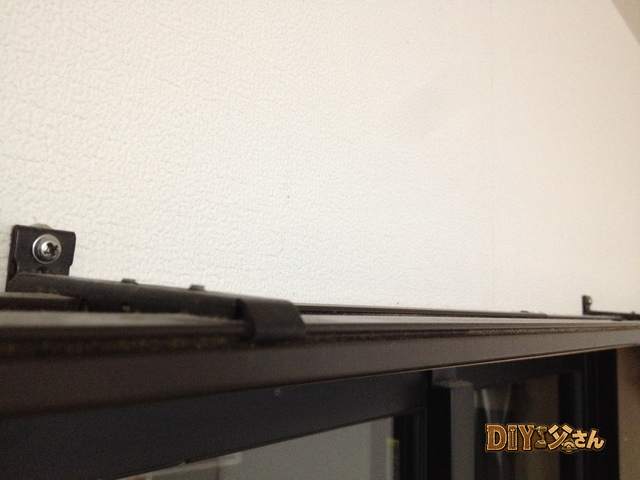
The curtain rail. We planned to reuse it, so off it came carefully. Three or four screws at the top and it slides right out.
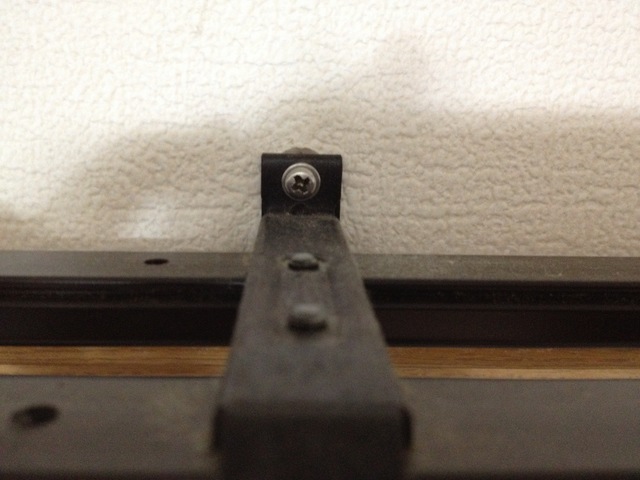
These are the screws to remove.
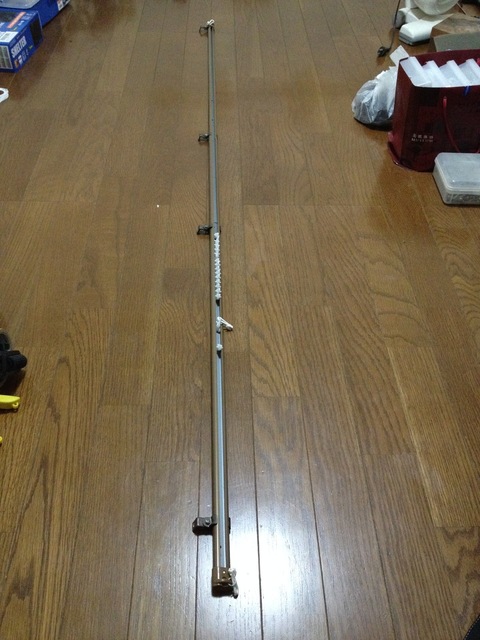
Out it comes. One thing to be careful of: the curtain rail has a slip-fit joint connector, and once you pull the sections apart the little rollers slide right out and fall everywhere. DIY Dad moves a little too quickly sometimes u2014 “oh no” moments happened more than once with this one.
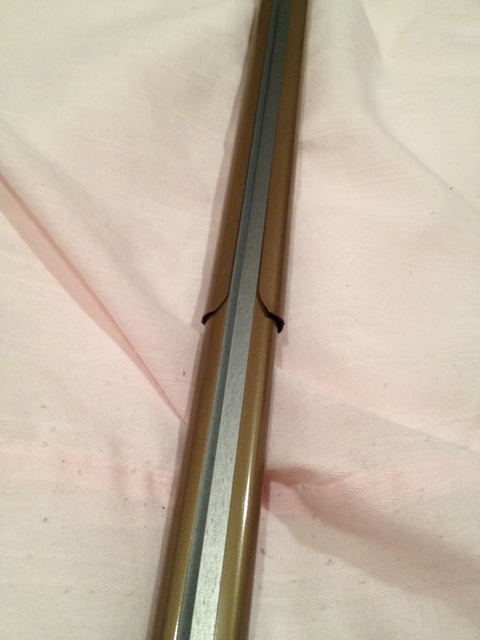
The slip-fit joint where the rail sections connect.
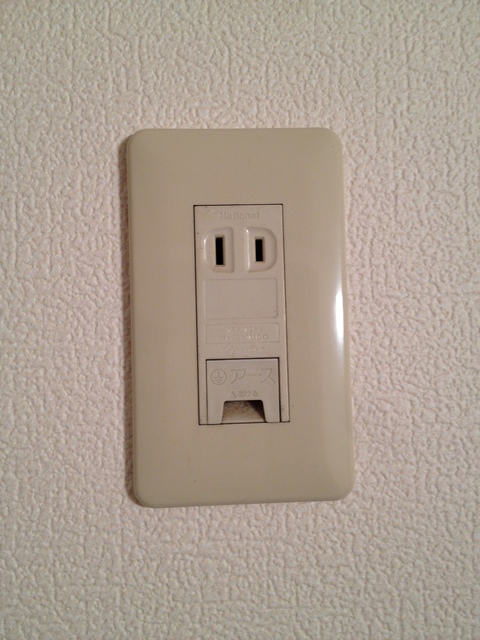
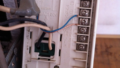
The outlet cover plate.
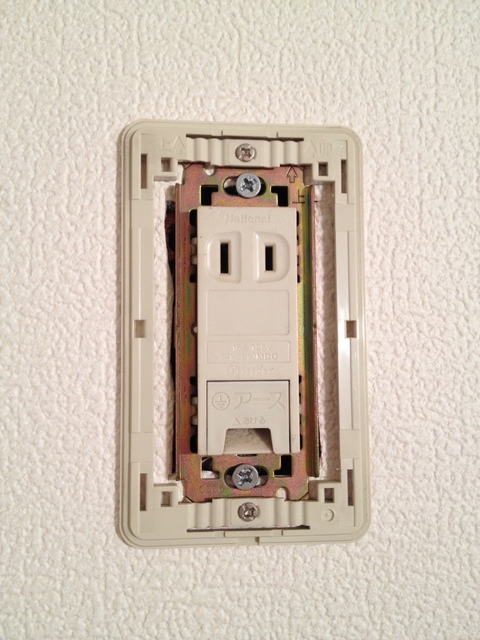
The cover removed.
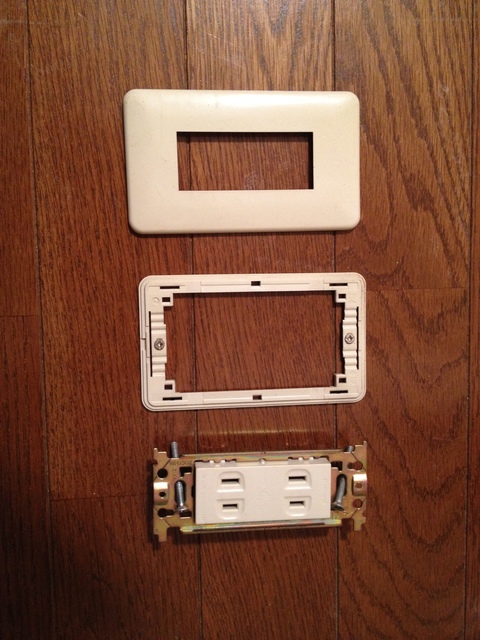
Unscrewed and disassembled.

I left some outlet plates partially in place u2014 if you remove them all entirely you lose access to power during the work, which gets inconvenient fast.
2026 Update u2014 The Big Picture of the Living Room Renovation
ud83duded2 RECOMMENDED PRODUCTS
Cordless Drill & Driver Kit
The single most-used tool across 15 years of rental property repairs.
The living room was by far the most involved part of the whole renovation u2014 wallpaper removal, substrate prep, roof leak repair, ceiling reinforcement… Honestly, there were moments where I thought: how can there possibly be this much to do?
Why You Must Remove Wall Fittings Before Wallpapering
The golden rule: remove everything from the walls before touching the wallpaper. Switch plates, outlet covers, light fixtures, curtain rails u2014 all of it. Work around them and the finish will inevitably look sloppy around every edge. Thinking like an engineer: complete the prep stage fully before the main stage begins.
Removing Outlet Covers u2014 What to Watch For
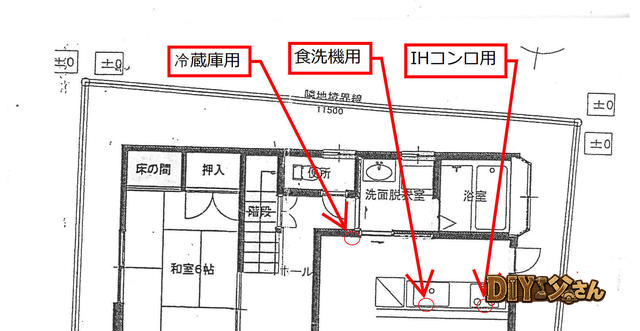
Turn off the breaker before you start u2014 always. Unscrew the plate; don’t touch the wires. Older properties may have a green or yellow-green ground wire attached to the outlet; that unscrews from its terminal just the same. If you’re reusing intercom wiring, photograph every connection before disconnecting. DIY Dad does this every single time.
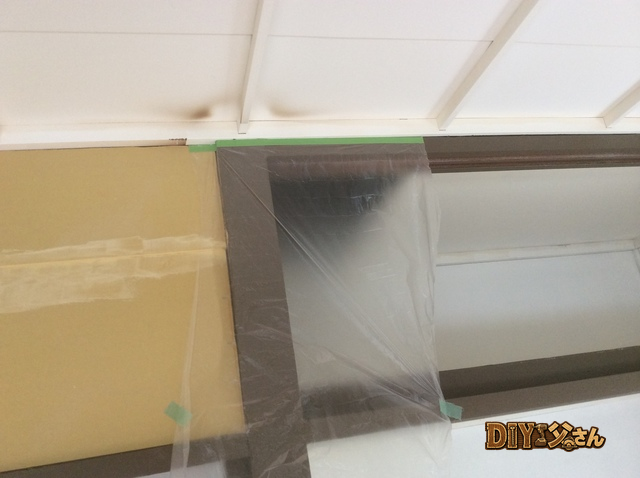
Floor Protection u2014 More Is More
Lay masking film across the entire floor u2014 no gaps u2014 before the messy work starts. If putty or adhesive drops it peels straight off when you’re done. Skip it and you could spend an hour chiseling hardened compound off the floor.
Tips for Stripping Wallpaper
Work a scraper blade parallel to the wall surface slowly. Forcing it rips the drywall face away. Dampen stubborn sections lightly u2014 not so much that the gypsum board soaks up water and weakens.
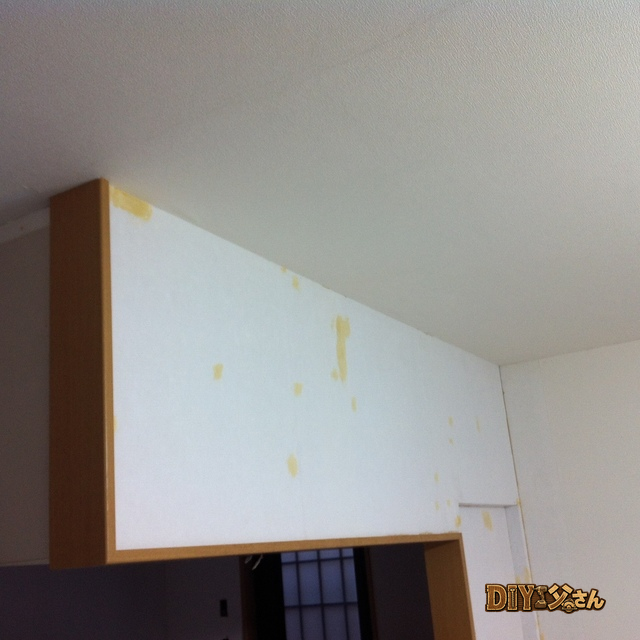
Wall Substrate Prep (Puttying) Makes or Breaks the Finish
Fill all screw holes and seams with joint compound after stripping. Apply mesh tape over holes first, skim compound over the tape, dry, and sand smooth. Nine times out of ten a poor finish on new wallpaper traces back to skipped substrate prep.
Originally published: November 8, 2016 (old Seesaa blog) | Rewritten: May 7, 2026
ud83dudcda Living Room Renovation Series u2014 2 of 20
u2190 Living Room Renovation Vol.1: Project Overview u00b7 Series Index u00b7 Living Room Renovation Vol.3: Intercom Removal u2192
DIY Renovation Quote Review Manual
How to read, compare, and negotiate contractor quotes. This manual saved me u00a5800,000 on a single renovation project.
ud83cudfe0 More from DIY Father
15 years of landlord experience u00b7 3 apartment buildings u00b7 DIY renovations that saved millions of yen. Browse all articles at diytosan.com