How to Store and Organize Your Landlord Tool Collection
Disorganized tools cost money. When you can’t find a bit you know you own, you buy a duplicate. When screws sit loose in a bag, you grab the wrong length mid-project. When batteries charge on top of each other in a corner, you damage them and wonder why they’re not lasting as long. After years of managing a growing tool collection, I’ve settled on a storage system that makes maintenance work faster and keeps my tools in good condition. Here’s what actually works.
The Core Problem: Tools Live in Multiple Locations
ud83duded2 RECOMMENDED PRODUCTS
18V Professional Impact Driver
My most-used tool. If you own one power tool, make it this.
As a landlord, your tools need to be accessible in at least two contexts: at the properties during repairs, and at home or a storage location between jobs. This creates an organizational challenge that home workshop setups don’t face. Your system needs to handle mobility, not just static storage.
- The answer is a tiered storage approach: a vehicle-based kit for the tools you carry to every job, and a base storage system for the full collection at home or a dedicated storage unit.
- Resist the temptation to bring every tool to every job. This leads to a perpetually messy vehicle, tools getting damaged in transit, and the time wasted loading and unloading. A focused “go bag” of the most-used tools, plus a system for pulling additional items when a specific job requires them, is far more efficient.
Vehicle Kit: What Goes in the Truck Every Time
ud83duded2 RECOMMENDED PRODUCTS
Power Tool Combo Kit (18V)
Combo kits are always better value than individual tools u2014 one battery charges all.
My daily vehicle kit lives in a Makita MAKPAC stacking tool system (the large combination tower runs around u00a510,000u2013u00a515,000 at Cainz). The system clips together, fits in my truck bed securely, and separates into individual cases for carrying to upper floors.
- Case 1 u2014 Power tools: Cordless drill, impact driver, two charged batteries, dual charger. This case goes to every job regardless of what I’m doing.
- Case 2 u2014 Hand tools: Screwdrivers, pliers, utility knife, tape measure, combination square, level, pencils. Everything I need for layout and basic fastening.
- Case 3 u2014 Consumables: Assorted screws (M3.5u00d725, M4u00d740, M4u00d765 are the most common for Japanese residential work), drill bits (1mmu201312mm in 1mm increments), assorted sandpaper sheets, masking tape, caulk tubes (one silicone, one acrylic).
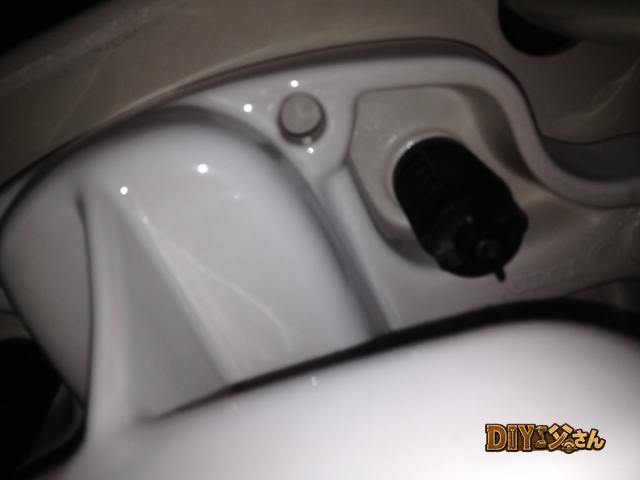
Base Storage: The Home Tool Station
For base storage, I use a combination of a steel rolling cabinet and wall-mounted pegboard. This setup is common in Japanese garages and works well for landlord tool collections of 30u201360 items.
- Rolling cabinet: The Trusco TBR-3003W (around u00a515,000u2013u00a520,000) is a solid mid-range option available at Cainz and Konan. Three drawers with dividers handle hand tools and small power tool accessories. The top surface doubles as a work surface for quick jobs. For a larger collection, Trusco’s modular system lets you stack additional units.
- Pegboard system: A 900mm u00d7 600mm pegboard panel (around u00a51,500u2013u00a53,000 at Cainz) with hooks and bins organizes frequently used hand tools visually. The key is mounting it at eye level so you can see at a glance whether anything is missing. I use different colored hooks for different tool categories u2014 blue for measuring tools, red for cutting tools, etc.
- Shelf system for large items: A steel shelving unit holds larger power tools (jigsaw, circular saw, sander), paint supplies, and bulk consumables. The Iris Ohyama BSDT-600B steel shelving (around u00a55,000u2013u00a58,000) is a good starting point. Adjust shelf heights to fit your specific tools.
Battery Storage and Charging Station
ud83duded2 RECOMMENDED PRODUCTS
Tool Storage & Workshop Organizer
A well-organized toolbox saves 20 minutes on every job. Multiply that by 100 repairs.
Battery management deserves its own section because it’s where most cordless tool users go wrong.
- Store batteries at room temperature, away from direct sunlight and moisture. Garage storage in Japanese summers (often 35u201340u00b0C inside) degrades lithium batteries significantly faster than climate-controlled storage.
- A dedicated charging station with a power strip keeps all chargers in one location. I mount mine on a shelf at chest height so I can see charge status at a glance without bending down.
- Label batteries with their purchase date using a permanent marker on a piece of tape. When a battery starts losing capacity, the purchase date tells you whether it’s time to replace it or if there’s a quality issue to chase with the manufacturer.
- Never store a fully depleted battery for more than a few days. Lithium cells damaged by deep discharge don’t recover. If a battery is depleted, charge it promptly.
An organized tool collection isn’t just about aesthetics u2014 it’s about work efficiency. Every minute spent searching for a tool is a minute not spent on the repair itself. The investment in proper storage (total cost around u00a530,000u2013u00a550,000 for a complete setup) pays back quickly in time savings across the dozens of repair calls you’ll handle each year.
ud83cudfe0 More from DIY Father
15 years of landlord experience u00b7 3 apartment buildings u00b7 DIY renovations that saved millions of yen. Browse all articles at diytosan.com