ud83dudcda Bathroom Renovation Series u2014 25 of 25
u2190 Bathroom Renovation Vol.24: Storage Shelf Installation u00b7 Series Index u00b7 (last article) u2192
u270fufe0f Originally published: 2016-12-17 / ud83dudd04 Rewritten: May 8, 2026
- u270fufe0f 2026 Update from DIY Dad: Looking Back on the Finished Bathroom/Laundry Room
- Reinstalling Switches and Outlets u2014 What You Must Do
- The Reality of Installing a Washing Machine
- Storage Shelf Installation Tips
- Reflecting on the Completed Renovation
- ud83dudebf For Anyone Considering a Vanity or Wet Area Renovation
u270fufe0f 2026 Update from DIY Dad: Looking Back on the Finished Bathroom/Laundry Room
ud83duded2 RECOMMENDED PRODUCTS
Mold-Resistant Bathroom Caulk
Re-caulk every 3u20135 years. Black mold on caulk is the #1 tenant complaint in Japan.
This is the final chapter of the bathroom/laundry room renovation series. With the switches reinstalled, washing machine in place, and storage shelves up, I can now speak from experience about what was worth doing u2014 and what I’d do differently next time.
Reinstalling Switches and Outlets u2014 What You Must Do
ud83duded2 RECOMMENDED PRODUCTS
Bathroom Vanity & Mirror Cabinets
Mirror cabinets add storage and light u2014 tenants notice immediately.
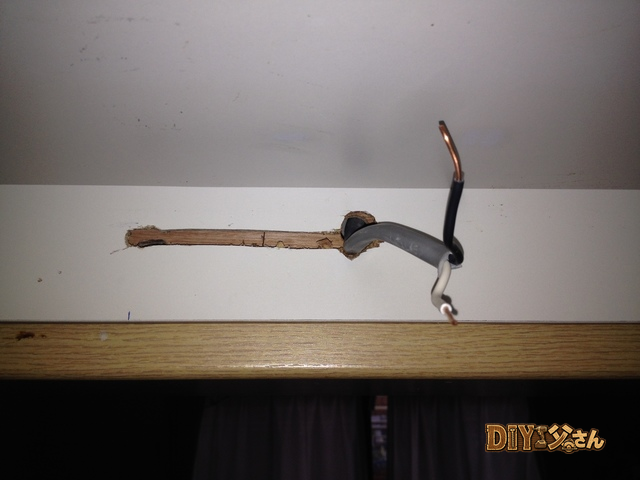
When reinstalling switches and outlets after a wallpaper replacement, always wait until the wallpaper has fully dried u2014 at least 24 hours. Installing them too early causes the wallpaper to shrink and leave gaps around the plate covers.
For the bathroom dryer control panel, refer to photos taken before you disconnected the wiring and work through it one wire at a time. If you’re unsure about any wire, use a multimeter to check. Always do a function test after reinstalling everything.
The Reality of Installing a Washing Machine
The part that catches most people off guard with washing machine installation is the height of the water spigot. The existing spigot may not align with the new drain pan. DIY Dad solved this by purchasing a nipple extension fitting u2014 problem solved.
Don’t forget the ground (earth) connection either. If your outlet doesn’t have a grounding terminal, you’ll need a licensed electrician to add one. An ungrounded washing machine is a real leakage risk.
Storage Shelf Installation Tips
ud83duded2 RECOMMENDED PRODUCTS
Grout Cleaners & Tile Restoration
Clean grout transforms a dated bathroom without any demolition.
In a bathroom/laundry room, moisture protection is the top priority for storage shelves. Solid wood warps easily in humid environments, so melamine-coated board or pre-painted shelf panels are the better choice for wet areas.
Always screw into wall studs. Screwing into drywall alone will pull out under any real load. A stud finder costs around 1,000 yen and is well worth having on hand.
Reflecting on the Completed Renovation
This series ran a full 25 episodes. (Quite the saga.) We covered under-floor storage, a ceiling access hatch, a new vanity, wallpaper replacement, cushion flooring, and storage shelves u2014 essentially a near-complete renovation of the space.
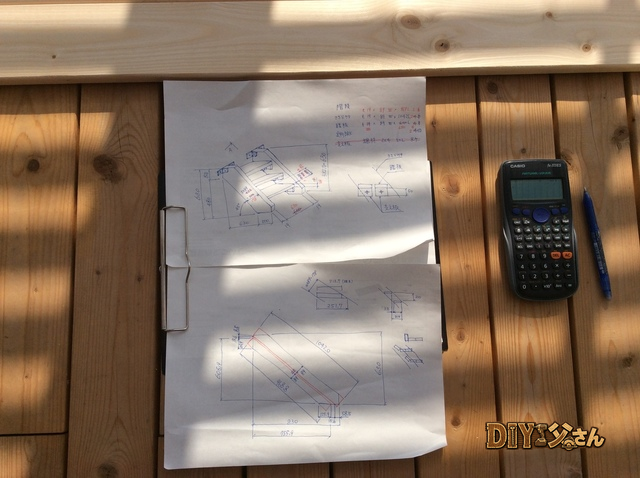
The biggest lesson DIY Dad took from this series: plumbing DIY is all about planning ahead. Specifically u2014 if you don’t check the pipe connection types in advance, you’ll hit a wall mid-job. From now on, I always photograph the connection points before ordering parts.
After 15 years as a landlord, I’ve seen it firsthand: properties with a clean, well-finished bathroom and laundry room have clearly better occupancy rates and hold their rent value better. Money invested in wet areas always pays off.
ud83dudebf For Anyone Considering a Vanity or Wet Area Renovation
DIY vanity replacement is doable, but mistakes with the shutoff valve or drain connections lead straight to water leaks. Always confirm the dimensions and pipe types before you start u2014 that’s the one rule I’d insist on.
![]()
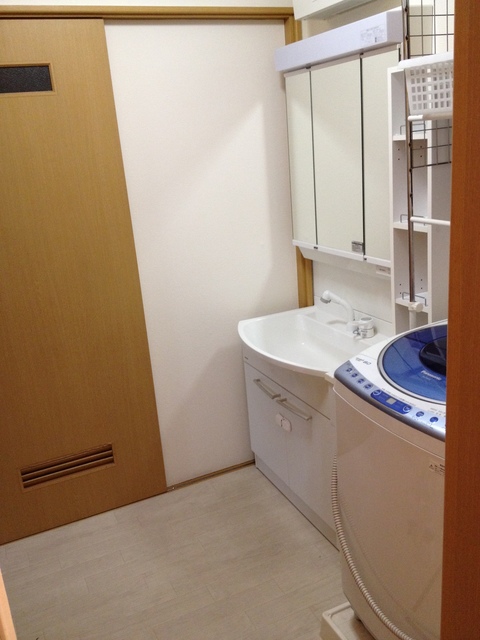
Hi, it’s DIY Dad! Continuing the first-floor bathroom/laundry room renovation series u2014 and we’re done!
For the washing machine, I’m reusing the one from the apartment I was living in before the move. It’s a household essential, so I used it right up until moving day u2014 same goes for the narrow storage unit and laundry rack. Since they moved in at different times, the completion photos are a bit scattered. Sorry about that!
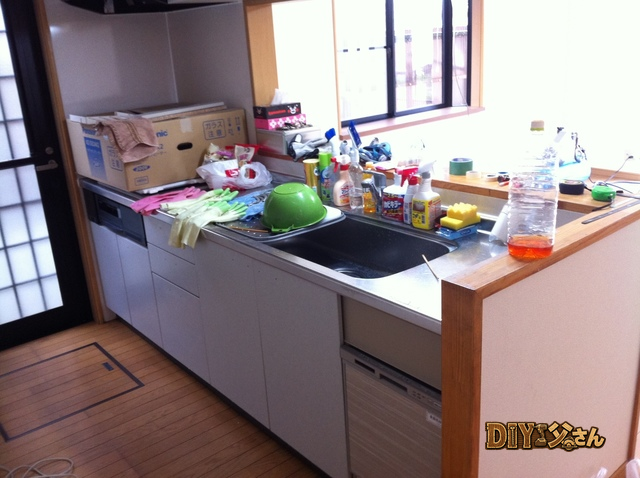
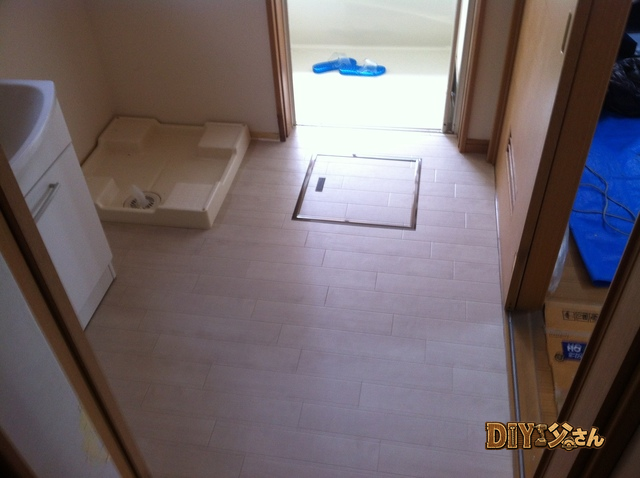
The full bathroom/laundry room. It’s a small space u2014 too tight to get it all in one frame.
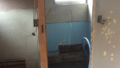
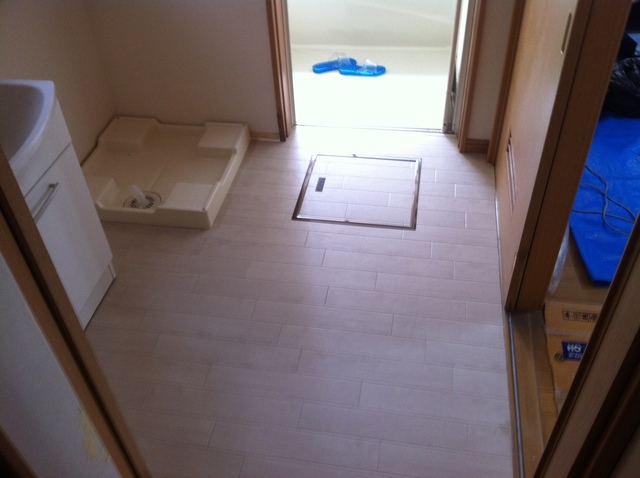
From a different angle.
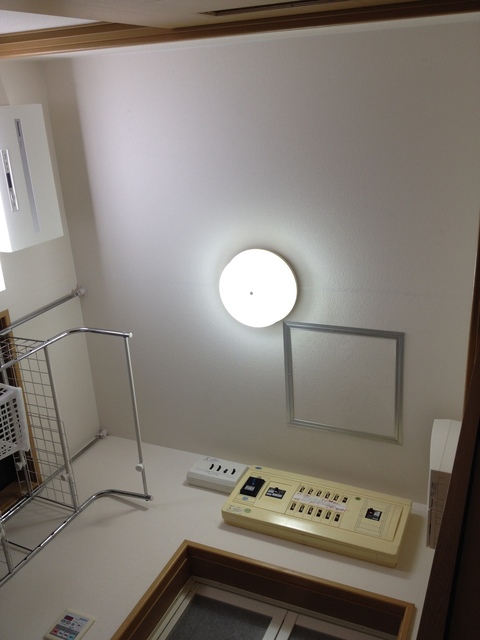
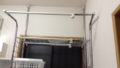
The ceiling. The ceiling access hatch was disassembled, finished with wallpaper, and reinstalled.
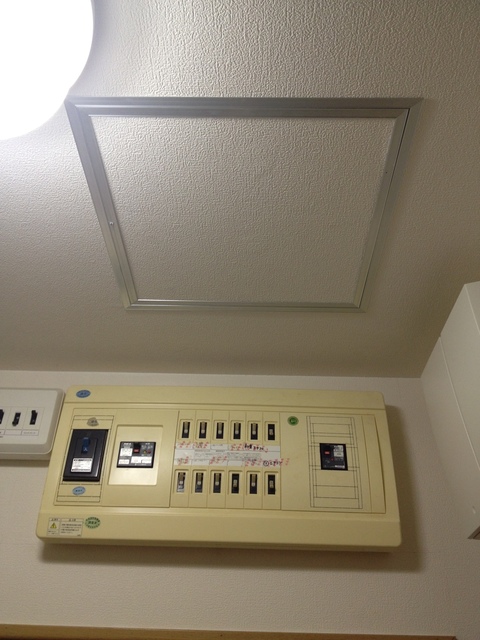
The ceiling access hatch, up close.
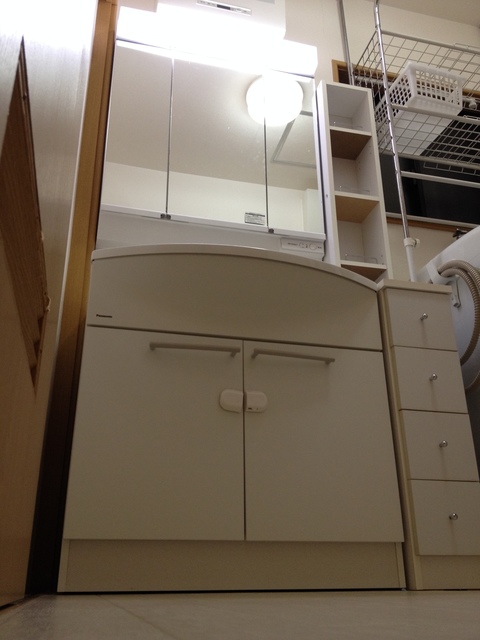
The vanity, finished and installed. That’s all for today u2014 see you next time!
ud83dudcda Bathroom Renovation Series u2014 25 of 25
u2190 Bathroom Renovation Vol.24: Storage Shelf Installation u00b7 Series Index u00b7 (last article) u2192
DIY Renovation Quote Review Manual
How to read, compare, and negotiate contractor quotes. This manual saved me u00a5800,000 on a single renovation project.
ud83cudfe0 More from DIY Father
15 years of landlord experience u00b7 3 apartment buildings u00b7 DIY renovations that saved millions of yen. Browse all articles at diytosan.com