ud83dudcda Wood Deck Build Log u2014 15 of 19
u2190 Build #40: Floor Boarding Pt.1 u00b7 Series Index u00b7 Build #42: Floor Boarding Pt.3 u2192
u7acau30fbSee the complete Wood Deck DIY Guide
Originally published: 2020-11-15 / Revised: May 8, 2026
2026 Update from DIY Dad: Wood Deck Complete! Finishing the Floor, Fence, and Stairs
ud83duded2 RECOMMENDED PRODUCTS
Pressure-Treated Deck Lumber
Pressure-treated lumber is the baseline u2014 skip it and you’ll be rebuilding in 5 years.
After all the floor boarding, I attached the fence and stairs to finish the wood deck. A project that took over 3 years from planning to completion was finally done!
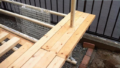
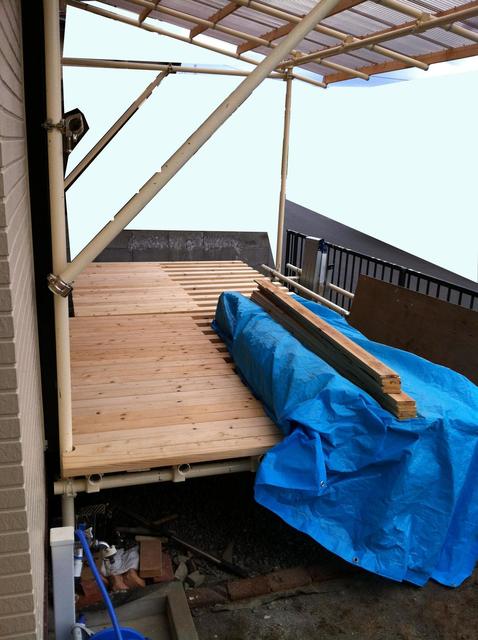
Hi, DIY Dad here. Continuing the wood deck renovation series. The modular unit assembly is progressing well.
u7acau30fbModular units
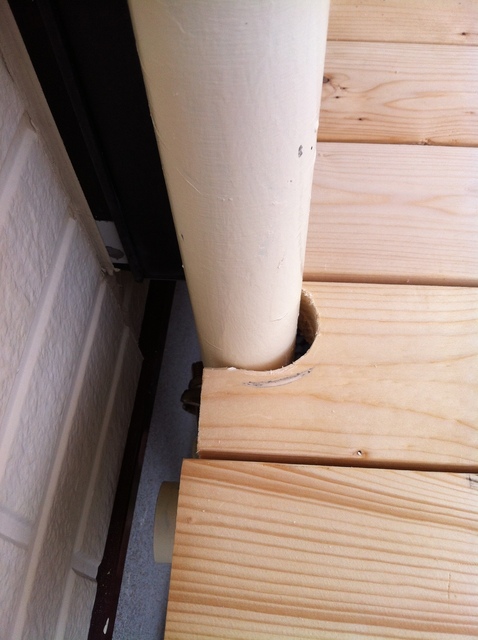
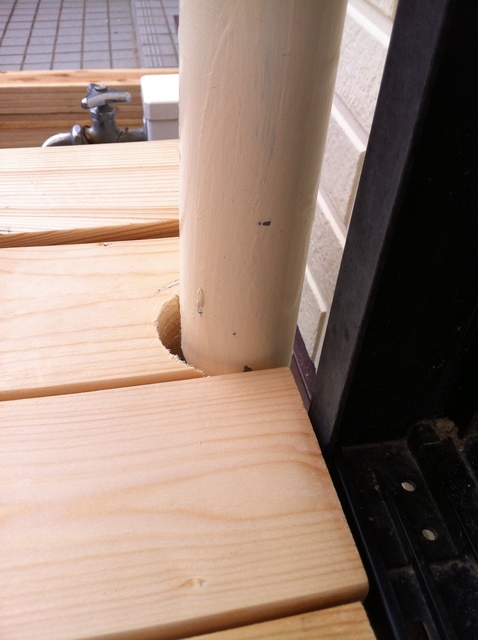
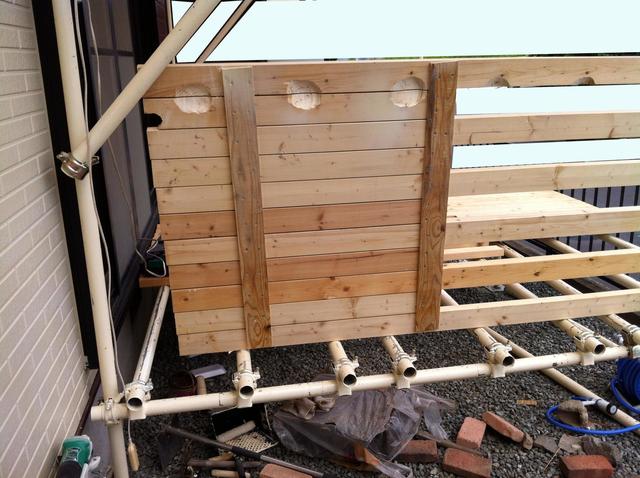
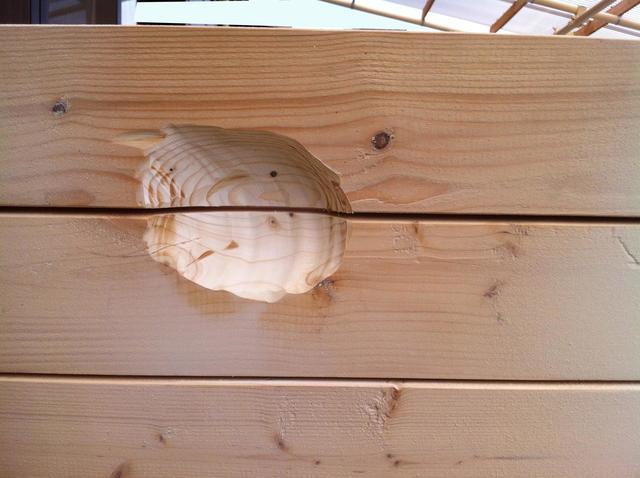
I’m placing the units into position. Once placed, I check each one for interference and do the necessary trimming. First, I cut out the holes where posts pass through using a hole saw.
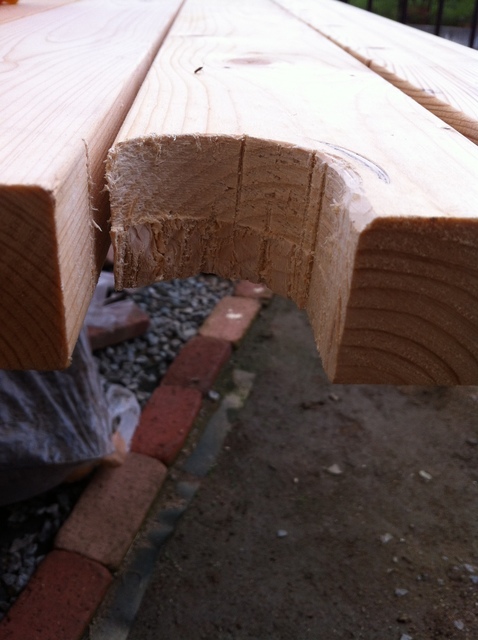
u7acau30fbColumn clearance
u7acau30fbColumn clearance
u7acau30fbColumn clearance
u7acau30fbColumn clearance
u7acau30fbColumn clearance
u7acau30fbColumn clearance
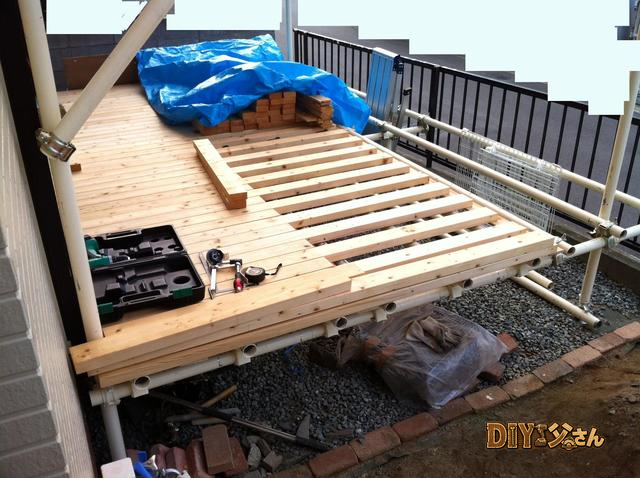
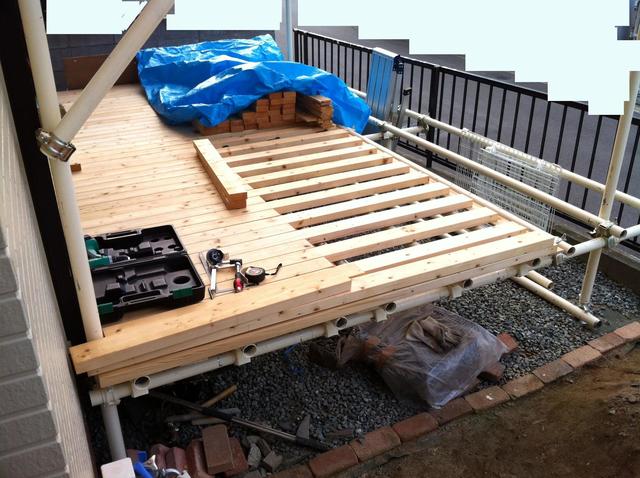
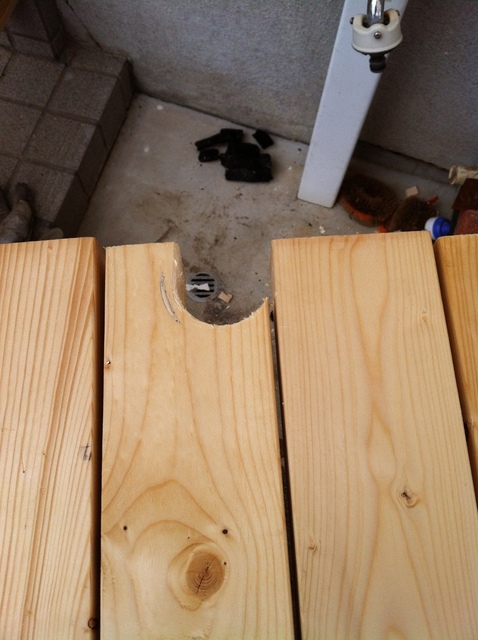
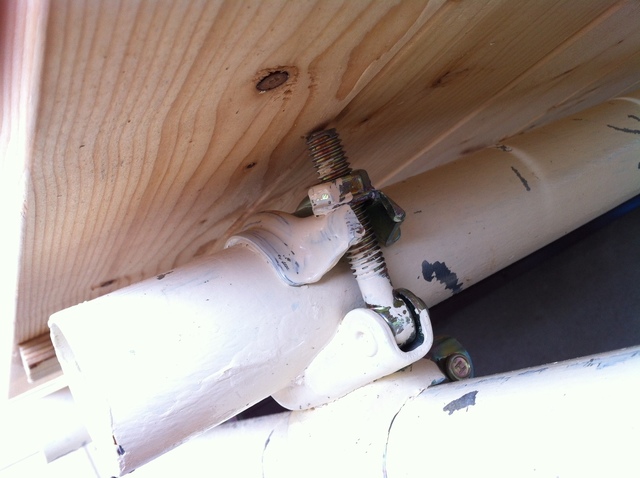
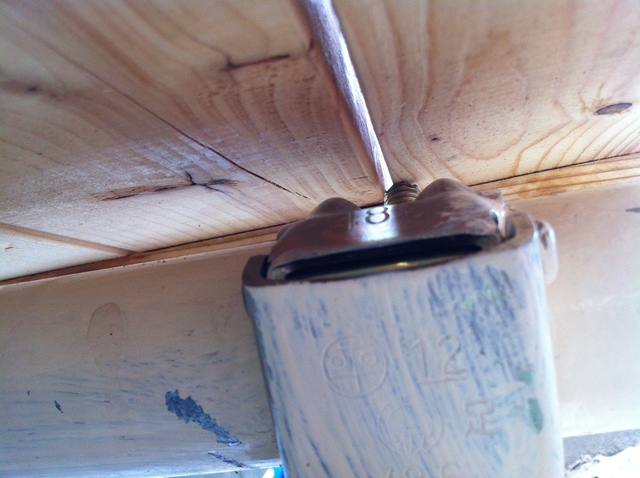
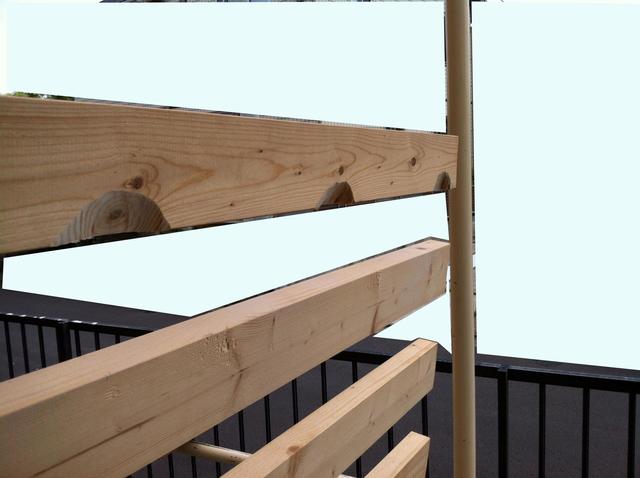
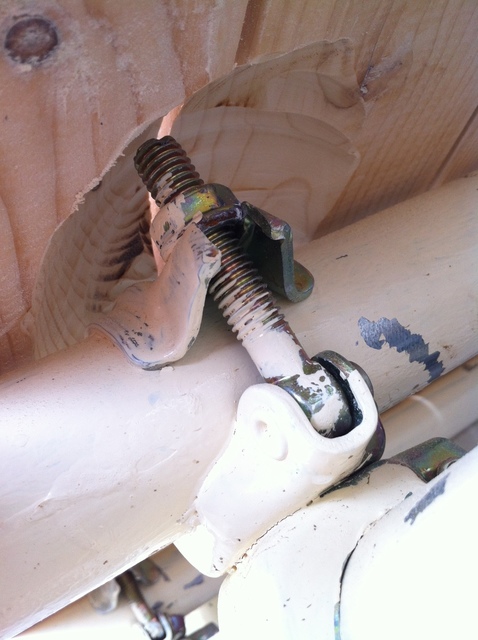
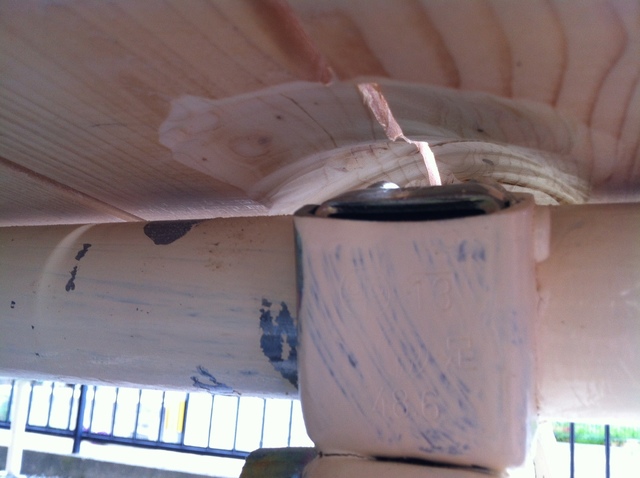
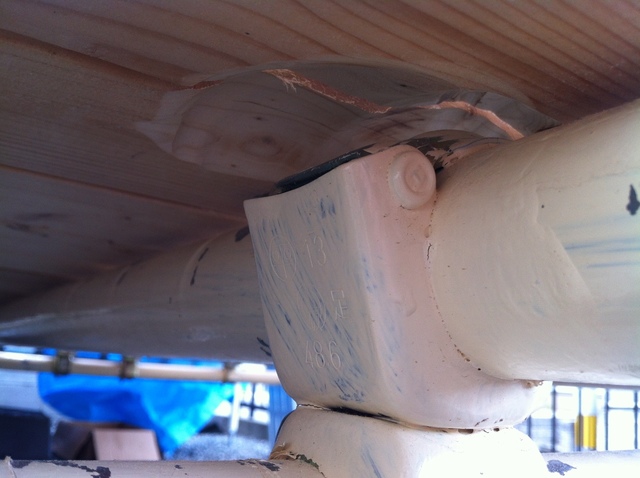
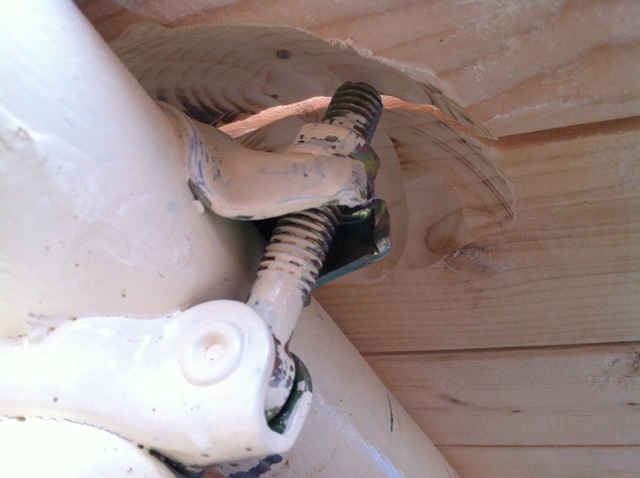
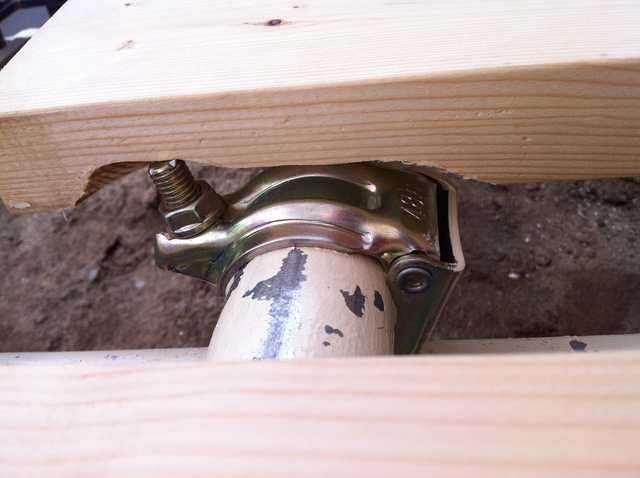
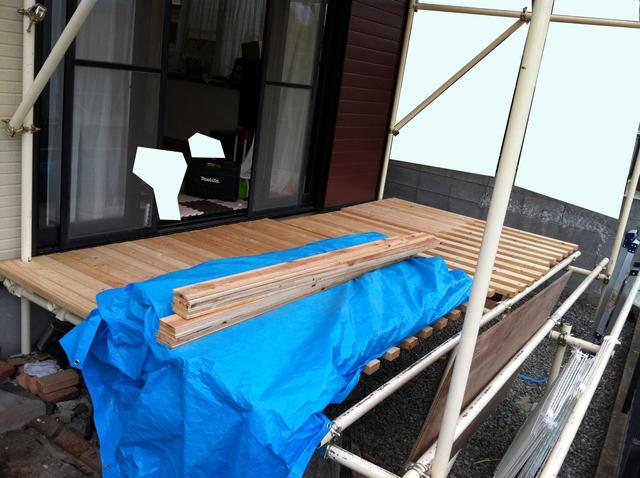
Looking good! Next, the clamps fixing the joists protrude, so I grind those away with a hand grinder. Just roughly u2014grind until nothing’s hitting.
u7acau30fbClearance cut
u7acau30fbClearance cut
u7acau30fbClearance cut
u7acau30fbClearance cut
u7acau30fbClearance cut
u7acau30fbClearance cut
u7acau30fbClearance cut
u7acau30fbClearance cut
u7acau30fbClearance cut

u7acau30fbClearance cut
u7acau30fbClearance cut
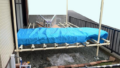
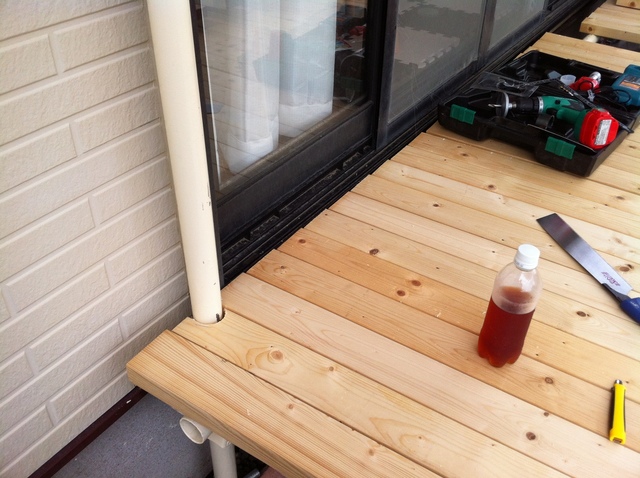
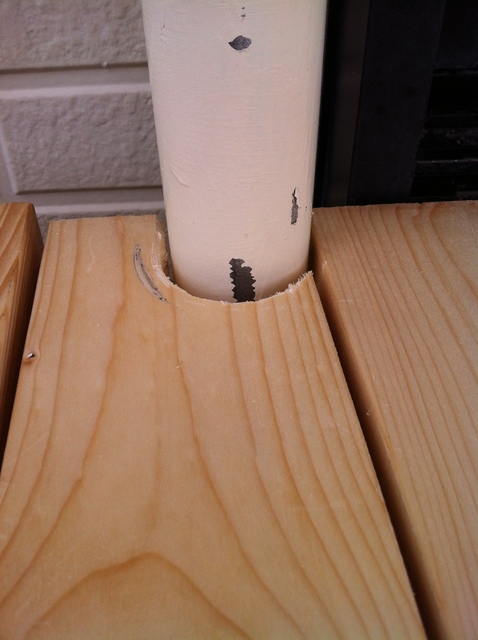
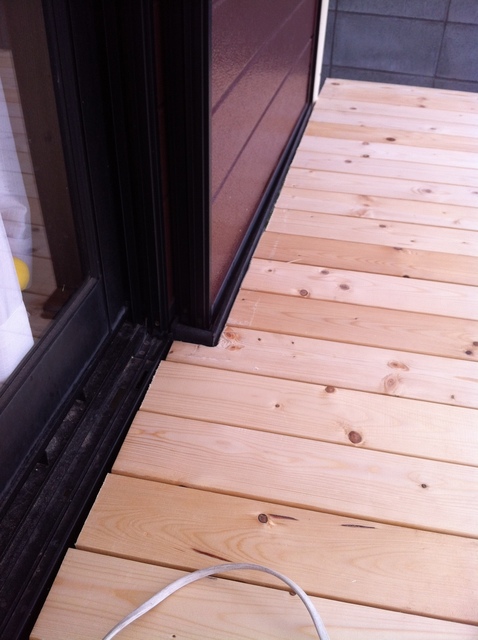
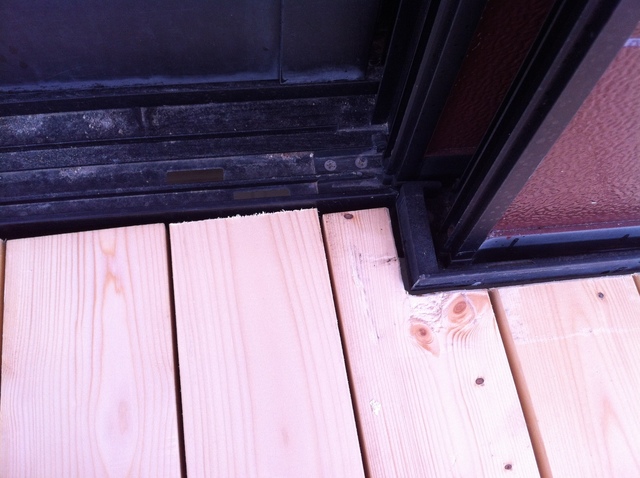
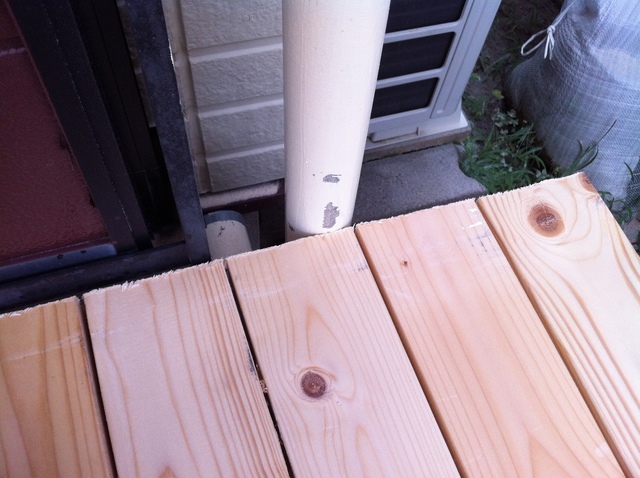
Next, I need to cut clearances around the rain shutter housing. I scribe it by fitting in place, then cut with a jigsaw.
u7acau30fbClearance cut
u7acau30fbClearance cut
u7acau30fbClearance cut
u7acau30fbClearance cut
u7acau30fbClearance cut
u7acau30fbClearance cut
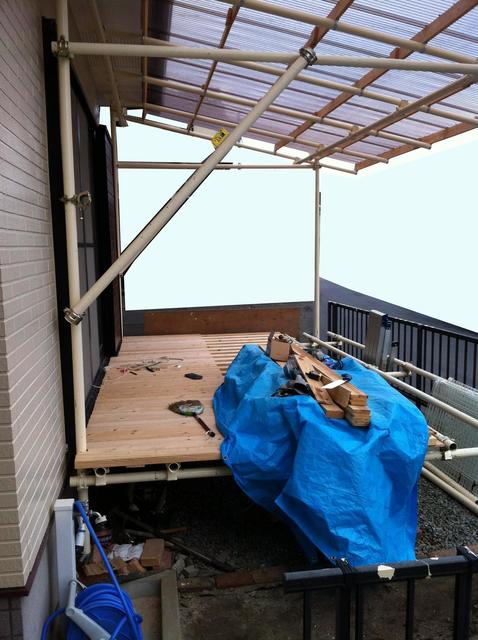
The house-side half is really starting to take shape.
ud83dudcda Wood Deck Build Log u2014 15 of 19
u2190 Build #40: Floor Boarding Pt.1 u00b7 Series Index u00b7 Build #42: Floor Boarding Pt.3 u2192
DIY Renovation Quote Review Manual
How to read, compare, and negotiate contractor quotes. This manual saved me u00a5800,000 on a single renovation project.
ud83cudfe0 More from DIY Father
15 years of landlord experience u00b7 3 apartment buildings u00b7 DIY renovations that saved millions of yen. Browse all articles at diytosan.com