ud83dudcda Bathroom Renovation Series u2014 5 of 25
u2190 Bathroom Renovation Vol.4: Floor Demolition Pt.1 u00b7 Series Index u00b7 Bathroom Renovation Vol.6: Floor Joist Repair u2192
u270fufe0f Originally published: 2016-11-27 / ud83dudd04 Rewritten: May 7, 2026
2026 Update from DIY Dad: How to Tackle a Bathroom Renovation
ud83duded2 RECOMMENDED PRODUCTS
Mold-Resistant Bathroom Caulk
Re-caulk every 3u20135 years. Black mold on caulk is the #1 tenant complaint in Japan.
Bathroom and laundry rooms are trickier than other DIY projects because of the plumbing involved u2014 but if you know the key points, you can absolutely do it yourself.
The Full Scope of the Bathroom Renovation
ud83duded2 RECOMMENDED PRODUCTS
Bathroom Vanity & Mirror Cabinets
Mirror cabinets add storage and light u2014 tenants notice immediately.
Here’s everything DIY Dad tackled in this bathroom/laundry room project:
- Remove switch and outlet cover plates
- Remove light fixtures and bath dryer control panel
- Remove and replace the vanity unit
- Replace wall wallpaper
- Replace floor cushion flooring
- Reinstall the bath dryer control panel
The thing that really raises the difficulty is removing and reinstalling the bath dryer control panel u2014 get the wiring wrong on this unit bath system and you’re in trouble.
Removing the Bath Dryer Control Panel
Before you touch the wiring, photograph everything.
DIY Dad’s method:
- Turn off the circuit breaker
- Remove the panel screws and ease it away from the wall
- Take multiple close-up photos of the wiring with your phone
- Disconnect the wires u2014 label each one with tape and a marker
- After the wallpaper work, reconnect in reverse order
Choosing and Replacing a Vanity Unit
The most important thing when replacing a vanity is getting the dimensions right. Look up the make and model of your current unit, or measure the opening carefully. DIY Dad triple-checked every measurement. Also confirm supply and drain connection types before ordering.
What Matters Most in a Bathroom Renovation (Landlord’s Perspective)
- Choose a vanity with a mirrored medicine cabinet for maximum storage
- Waterproof floor tiles outlast cushion flooring
- Always test the ventilation fan u2014 critical for mold prevention
- Apply caulk thoroughly at all joints
After 15 years as a landlord, the cleanliness of the bathroom directly affects your occupancy rate.
For Anyone Considering a Bathroom or Vanity Renovation
ud83duded2 RECOMMENDED PRODUCTS
Grout Cleaners & Tile Restoration
Clean grout transforms a dated bathroom without any demolition.
Mistakes with shut-off valves or drain connections cause immediate leaks. Always confirm sizing and pipe types before you start.
![]()
Hey there u2014 DIY Dad here.
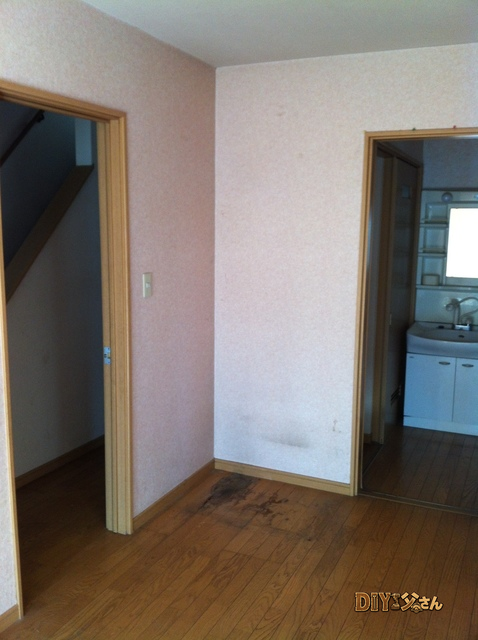
Continuing the first-floor bathroom and laundry room renovation series.
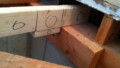
Having checked the underfloor in the previous post, I could see the jigsaw would fit safely. Time to get cutting.
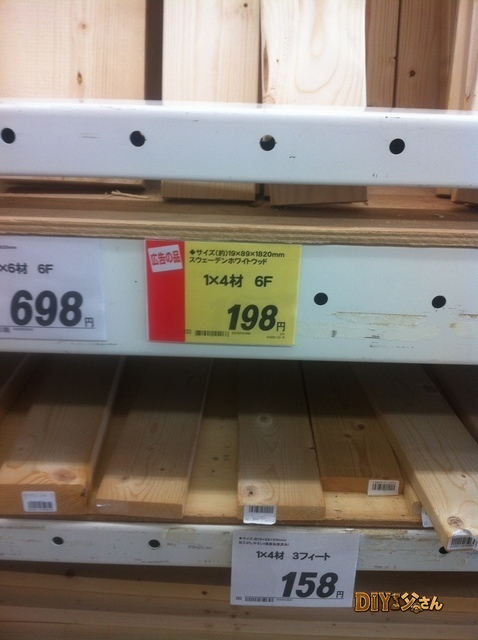
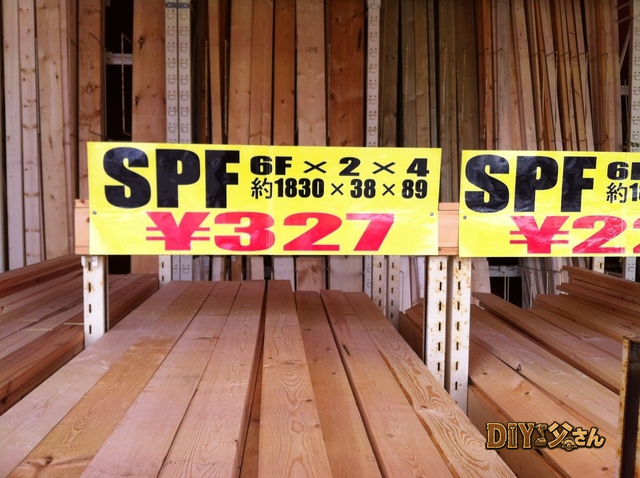
Tools and materials used: jigsaw, impact driver, angle grinder, protective gloves, safety goggles, dust mask.
First I drilled a starter hole with the impact driver u2014 this becomes the entry point for the jigsaw blade. Then I got to cutting. The floor panels weren’t the only thing that was rotten; the joists underneath had decayed too. At this point there’s only one thing to do u2014 cut those out as well.
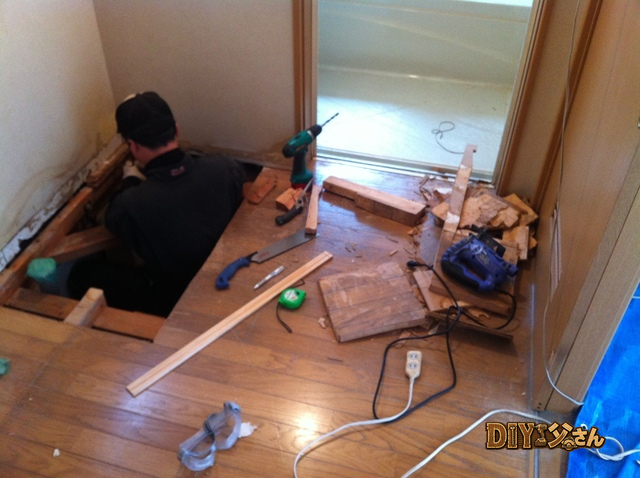
My helper showed up right then. I handed him the jigsaw since I didn’t have an immediate task for him, even though I really wanted to keep doing it myself!
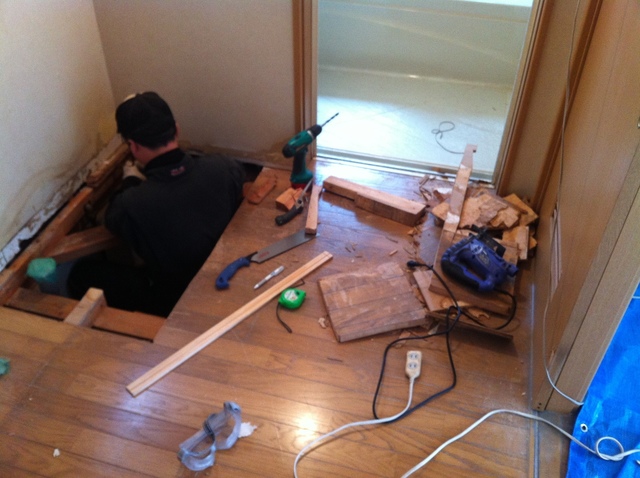
My helper with the opening cut so far.
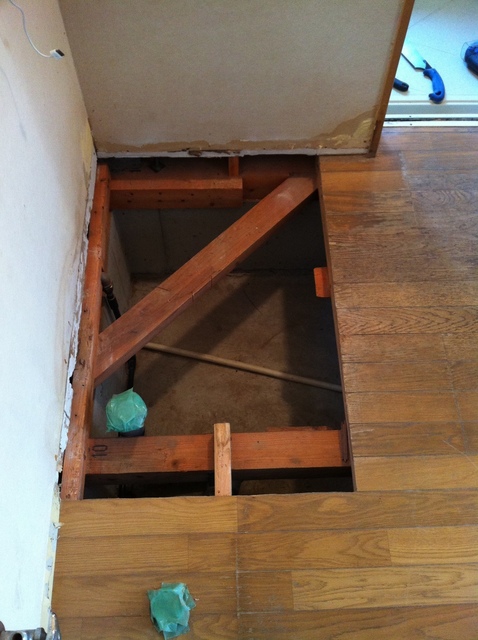
Floor panel fully cut out. Looking good!
Next, I needed to cut the drain pipe below the floor to make room for the new washing machine drain pan. Tools and materials: pipe saw, masking tape.
DIY Dad underestimated what working under the floor would be like. It’s tight. You end up in awkward positions where you can’t get any leverage u2014 and to make it worse, you can’t tell if you’re cutting straight.
Since the drain hose that connects to this pipe is corrugated and flexible, a slightly angled cut won’t be a dealbreaker. But the lesson is clear: mark your cut line with tape first, then cut. Preparation matters.
After cutting, I cleared out any metal shavings from inside the pipe and sealed it with masking tape so nothing unwanted crawls in u2014 or out.
That wraps up the floor demolition. That’s it for today u2014 see you next time!
ud83dudcda Bathroom Renovation Series u2014 5 of 25
u2190 Bathroom Renovation Vol.4: Floor Demolition Pt.1 u00b7 Series Index u00b7 Bathroom Renovation Vol.6: Floor Joist Repair u2192
DIY Renovation Quote Review Manual
How to read, compare, and negotiate contractor quotes. This manual saved me u00a5800,000 on a single renovation project.
ud83cudfe0 More from DIY Father
15 years of landlord experience u00b7 3 apartment buildings u00b7 DIY renovations that saved millions of yen. Browse all articles at diytosan.com