u2192 Back to all English articles
u270fufe0f Originally published: 2021-09-01 / ud83dudd04 Updated: May 2026
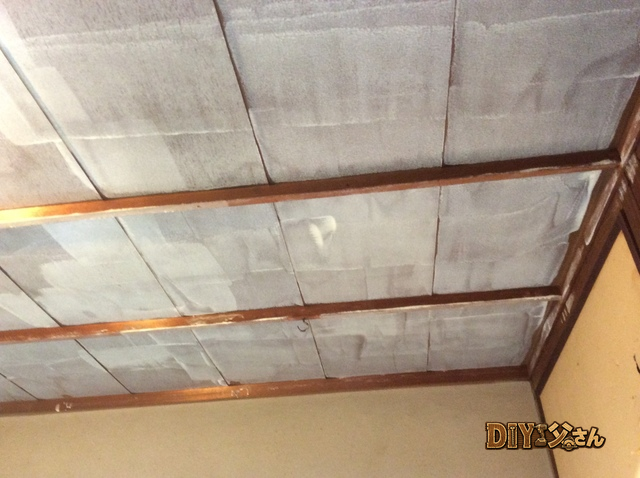
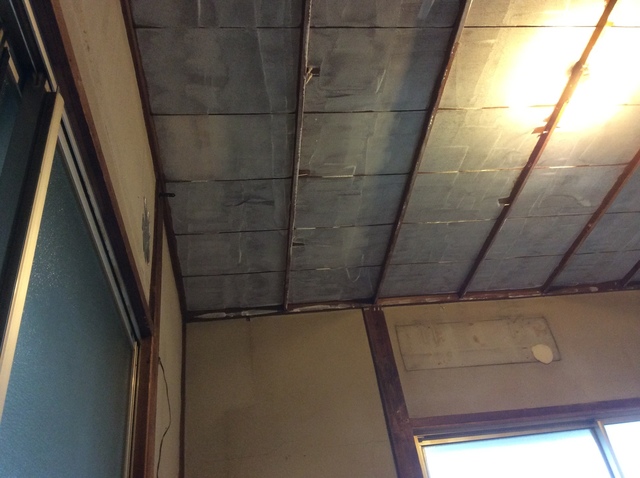
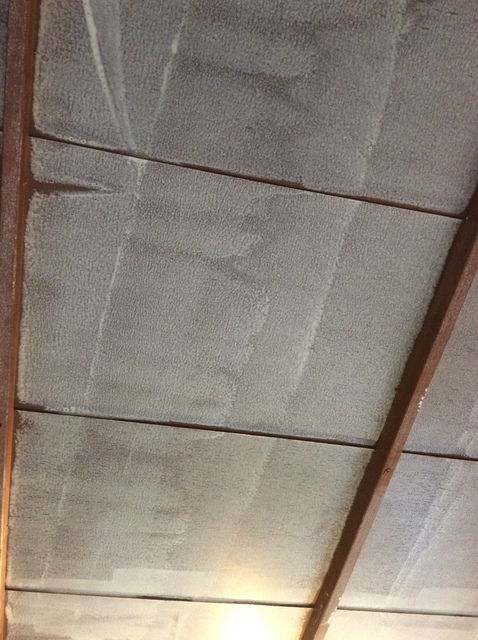
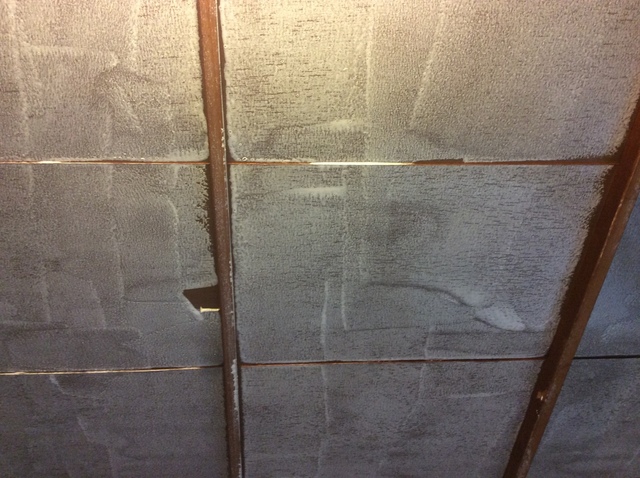
Hi, it’s DIY Dad! The 1st-floor 4.5-mat room ceiling renovation starts now. Just like the 2nd-floor Japanese room (u548cu5ba4 washitsu), the ceiling here is an old saodare style (u7affu7e01u5929u4e95 u2014 thin boards supported by narrow horizontal battens). The plan: paint over it.
Once the ceiling substrate is level, the first step is a sealer coat to block staining and even out absorption. I used Miracle Sealer for this.
Normal practice is to cut in the edges with a brush first, then roll the large open areas. This time, though, I’m planning to try spray painting the edges with an air compressor u2014 so I left the edges for later and just roughed in the large areas with a roller first. Since this is essentially the same process as the 2nd floor, I moved through it quickly.
2026 DIY Dad Notes: 2F Wall Underlayment and Pre-Wallpaper Prep
ud83duded2 RECOMMENDED PRODUCTS
Fusuma Replacement Paper Kits
Fusuma renewal is the fastest Japanese-room refresh u2014 paper, paste, and 2 hours.
With the wall underlayment boarding and patching progressing well, we’re entering the final prep phase before wallpaper goes up on the 2nd floor. Underlay quality determines finish quality.
Drywall (Plasterboard) Installation Tips
- Vertical orientation is standard u2014 fewer seams
- Fasten screws at 300 mm intervals or less
- Float the board 5u201310 mm off the floor (don’t sit it on the floor directly)
- Reinforce around openings u2014 windows, doors
- Cut out holes for outlets and switches before hanging
Drive each screw just enough so the head sinks slightly below the board face u2014 this lets compound sit in the recess. Driving too deep splits the board face paper.
Patching Seams and Screw Holes
- Apply mesh tape over all seams (crack prevention)
- First compound coat: thick enough to fully embed the tape
- Sand after drying
- Second compound coat: thin, spread wide
- Sand again after full drying u2014 flat, smooth surface
“Thin coats, multiple passes” is the rule. One thick coat cracks as it dries u2014 DIY Dad learned this the hard way on the first attempt.
Pre-Wallpaper Checklist
- All compound fully dry?
- Surface smooth to the touch?
- No steps or warps across the wall face?
- Is a sealer coat needed?
- Masking ready (floor, ceiling, tategu)?
In old buildings, getting a perfectly flat wall is sometimes not realistic. “Wallpaper will hide minor irregularities” u2014 that realistic acceptance is a valid part of the DIY mindset.
Actual Material Costs: 2F Japanese Room Wall Renovation
- Drywall (12.5 mm u00d7 910 u00d7 1820 mm): ~u00a52,000 u00d7 10 sheets = u00a520,000
- Mesh tape: ~u00a5500
- Joint compound: ~u00a51,500
- Screws (32 mm): ~u00a5500
- Total materials: ~u00a522,500
Add approximately u00a53,500 for wallpaper (6-mat room). A contractor would charge u00a5300,000u2013500,000 for drywall through wallpaper in a 6-mat room. DIY cost: roughly u00a526,000 in materials. The difference speaks for itself.
Starting the 1F Ceiling
With the 2nd-floor wall work on track, I’m also beginning the 1st-floor ceiling renovation in parallel. Running multiple rooms simultaneously shortens the total project timeline. The 1st-floor ceiling gets the same paint treatment as the 2nd floor, but with extra attention to finish quality since the 1st floor is what tenants see most.
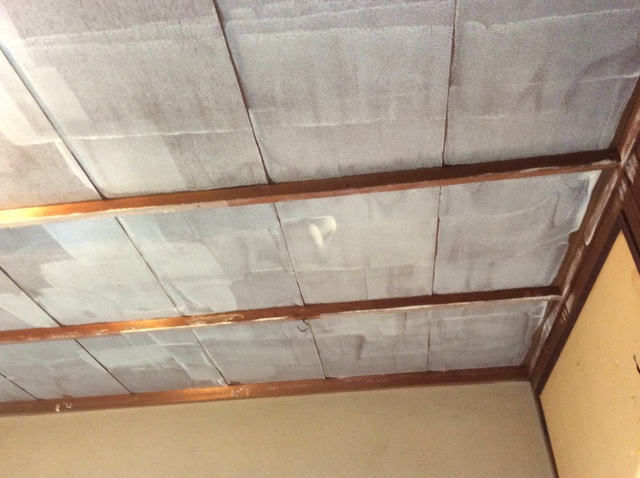
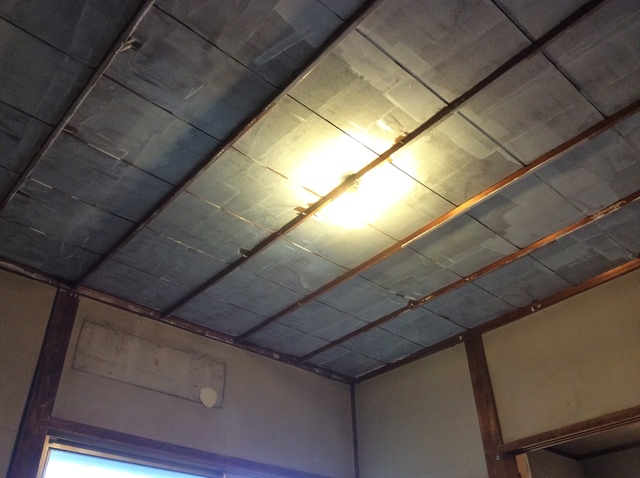
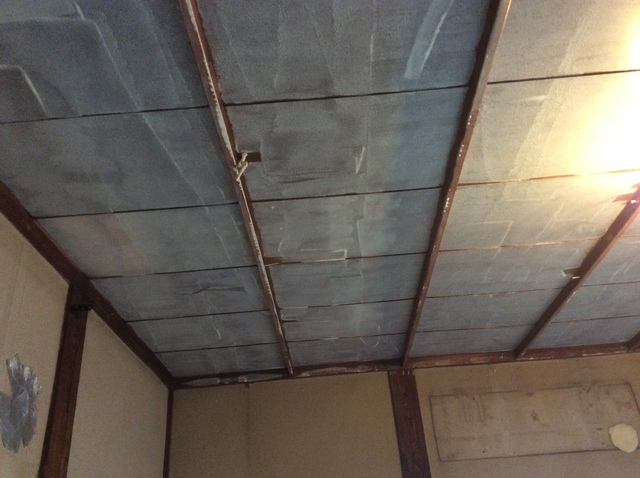
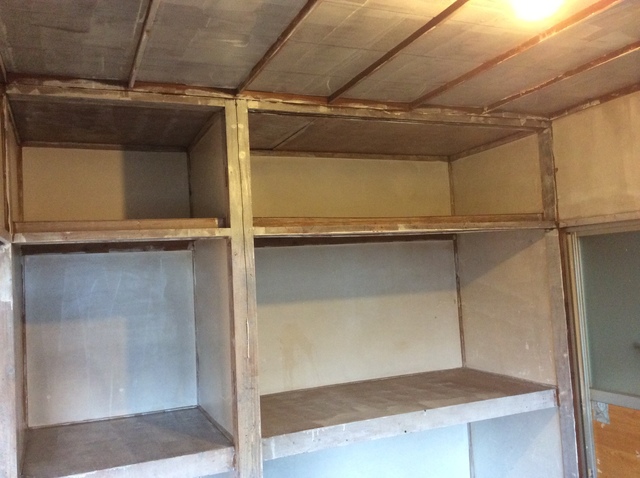
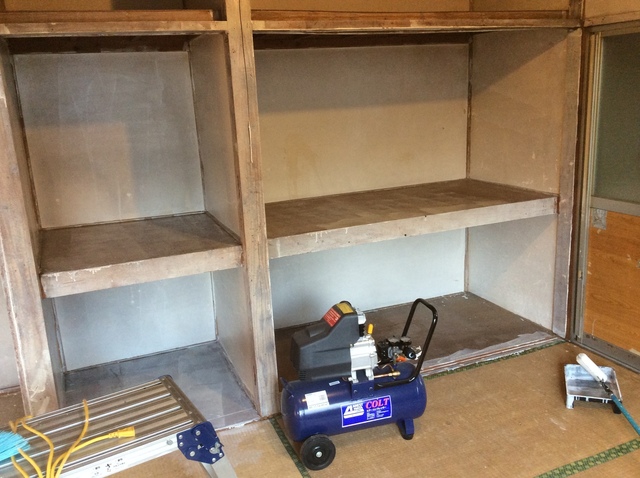
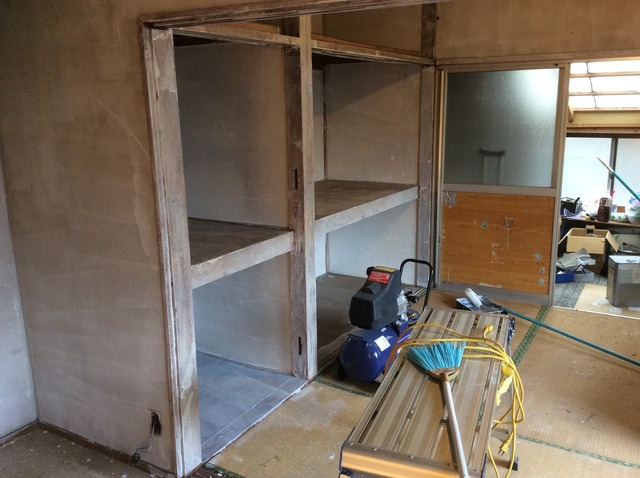
Applying sealer to the ceiling and the built-in closet (oshi-ire):
Sealer coat
Sealer coat
Sealer coat
Sealer coat
Sealer coat
Sealer coat
Sealer coat
Sealer coat
Sealer coat
Miracle Sealer is as translucent as ever u2014 barely visible once applied. Moving on to the finish coat regardless. See you next time!
![]()
DIY Renovation Quote Review Manual
How to read, compare, and negotiate contractor quotes. This manual saved me u00a5800,000 on a single renovation project.
ud83cudfe0 More from DIY Father
15 years of landlord experience u00b7 3 apartment buildings u00b7 DIY renovations that saved millions of yen. Browse all articles at diytosan.com