u2192 Back to all English articles
u270fufe0f Originally published: 2021-08-16 / ud83dudd04 Rewritten: May 8, 2026
- 2026 DIY Dad’s Update: Completing the 6-Mat Japanese Room Ceiling and Moving to Wall Work
- Final Checklist for the Painted Ceiling
- Wall Repair Process (6-Mat Japanese Room)
- Why Work Top to Bottom: Ceiling u2192 Walls u2192 Floor
- Wall Repair Cost for a 6-Mat Japanese Room u2014 DIY Example
- Wallpaper (Cross) Application Tips
- For Anyone Considering Apartment Investment and Renovation
- Back to the Job Site u2014 Finishing the Ceiling
2026 DIY Dad’s Update: Completing the 6-Mat Japanese Room Ceiling and Moving to Wall Work
ud83duded2 RECOMMENDED PRODUCTS
Fusuma Replacement Paper Kits
Fusuma renewal is the fastest Japanese-room refresh u2014 paper, paste, and 2 hours.
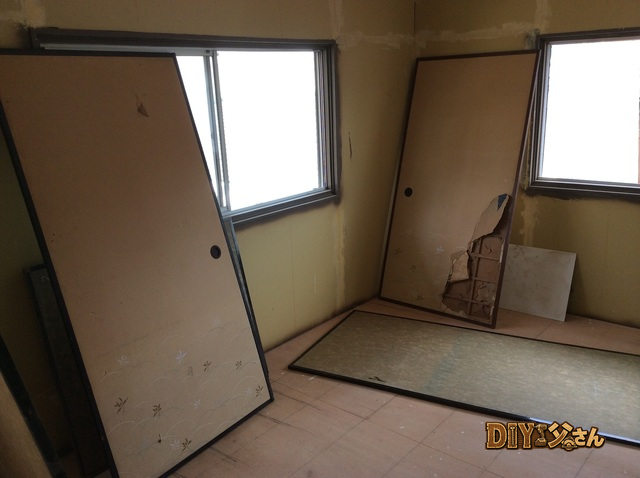
The ceiling repair in the 6-mat Japanese room (a traditional tatami room measuring roughly 10 sq m) is now complete, and it’s time to move on to the walls. Tackling both ceiling and walls together transforms the entire feel of a room.
Final Checklist for the Painted Ceiling
ud83duded2 AVAILABLE ON AMAZON JAPAN
Tatami Repair Materials (Amazon Japan)
Fresh tatami edges signal a well-maintained property u2014 tenants feel it immediately.
Key points to verify when checking ceiling paint quality:
- With the lights on, check from an angle for uneven coverage
- Inspect wall edges for any missed spots u2014 use a brush to touch these up carefully
- Check that seams (where patch boards were installed) are not visible
- After drying, run your hand across the surface to feel for roughness
- Confirm overall color consistency and uniform sheen
Do the final check by standing in the room and looking up u2014 the view from below is what matters. Many small imperfections visible during work often disappear once you’re standing at floor level.
Wall Repair Process (6-Mat Japanese Room)
After the ceiling is finished, the workflow for the wall repairs looks like this:
- Inspect the existing wall material (sand plaster, fiber wall, etc.)
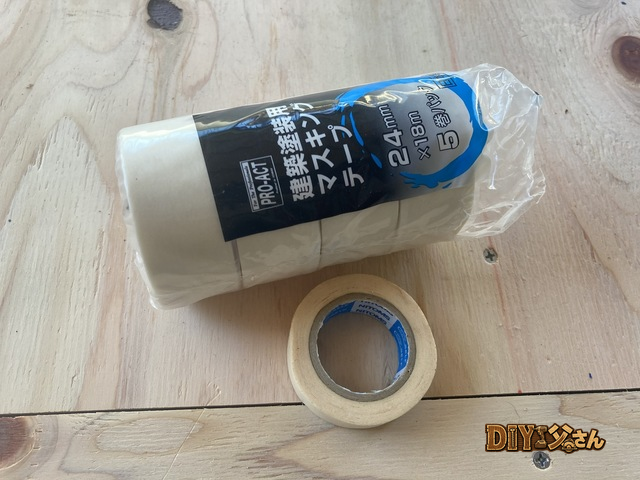
- Masking: protect floors, ceiling, doors, and windows thoroughly
- Remove damaged wall material where needed
- Surface prep: apply sealer u2192 fill with compound u2192 sand smooth
- Apply wallpaper (cross) or paint
- Remove masking and do a final quality check
When doing wall work after the ceiling is done, be especially careful not to dirty the finished ceiling. Applying masking tape neatly along the ceiling line is critical.
Why Work Top to Bottom: Ceiling u2192 Walls u2192 Floor
ud83duded2 RECOMMENDED PRODUCTS
Shoji Screen Paper & Repair Kits
Replace shoji paper every 3u20135 years u2014 it yellows faster than any other surface.
The standard renovation order is ceiling first, then walls, then floor u2014 always working from top to bottom. The reasons:
- Ceiling work can splatter paint onto walls and floors
- Wall compound and paint can drip onto the floor
- Floors are done last, so any damage during earlier stages doesn’t matter
DIY Dad always follows the ceiling u2192 walls u2192 floor sequence. Simply sticking to this principle makes a huge difference in the quality of the final result.
Wall Repair Cost for a 6-Mat Japanese Room u2014 DIY Example
What DIY Dad actually spent on one 6-mat room:
- Sealer (primer): approx. u00a51,200
- Compound (filler): approx. u00a5800
- Wallpaper (for a 6-mat room): approx. u00a53,500
- Masking materials (tape and sheeting): approx. u00a5500
- Total: approx. u00a56,000
A professional contractor would charge u00a580,000u2013u00a5150,000 for the same job in a 6-mat room. DIY brings that down to materials only u2014 around u00a56,000. Wallpaper often seems intimidating, but any beginner can handle a rectangular wall.
Wallpaper (Cross) Application Tips
Common stumbling blocks for beginners, and how to handle them:
- Corners: Fold the paper slowly and carefully at edges; making a small relief cut first makes folding much easier
- Seam matching: For patterned paper, overlap and align the pattern before cutting u2014 plain paper just needs position alignment
- Switches and outlets: Make an X-cut and fold the paper tabs back neatly
- Air bubbles: Use a smoothing brush working from the center outward to push all air to the edges
The key to a clean finish is patience. DIY Dad was nervous on the first panel, but by the second or third one the technique started to click. ud83dude04
For Anyone Considering Apartment Investment and Renovation
Cost-effectiveness is everything in apartment renovation. DIY Dad keeps costs dramatically low by doing the work himself.
Marutoku Shop u2014 Renovation Materials & Lumber (Online) u00bb
![]()
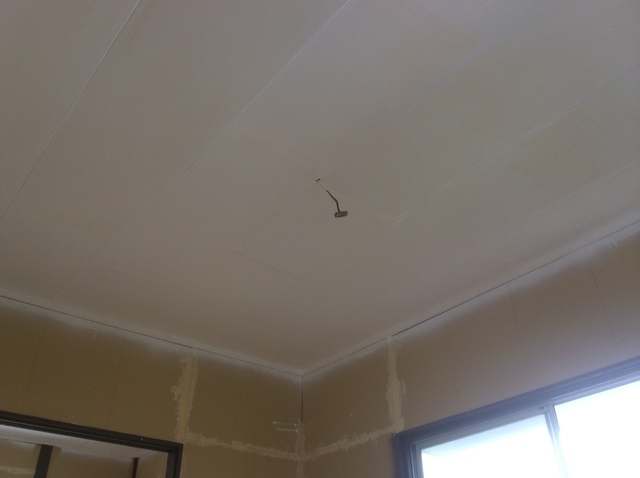
Back to the Job Site u2014 Finishing the Ceiling
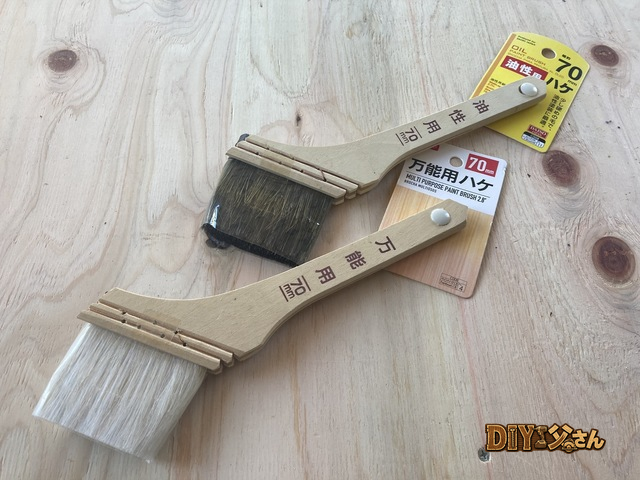
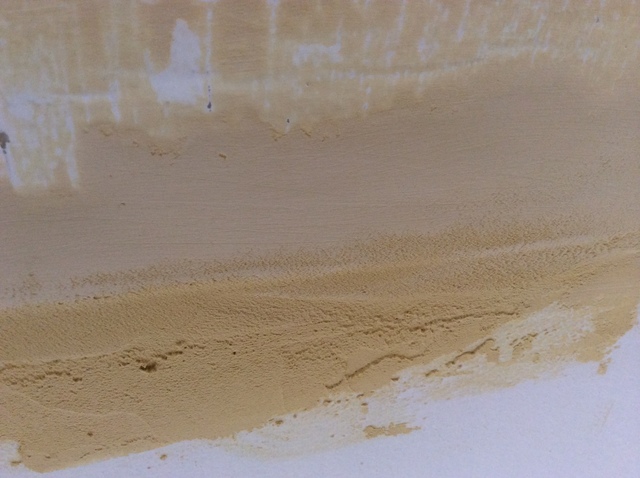
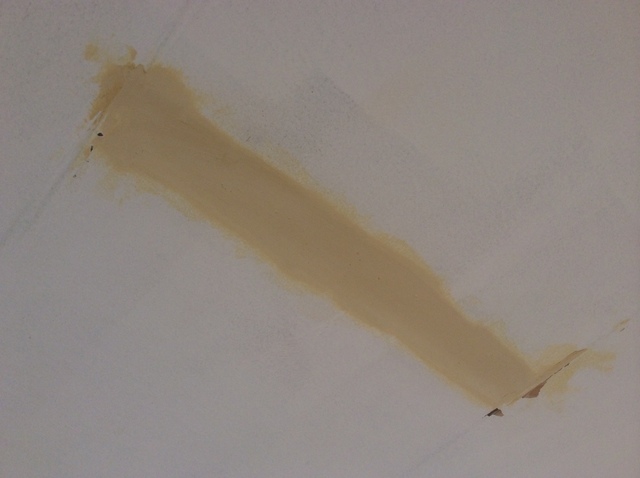
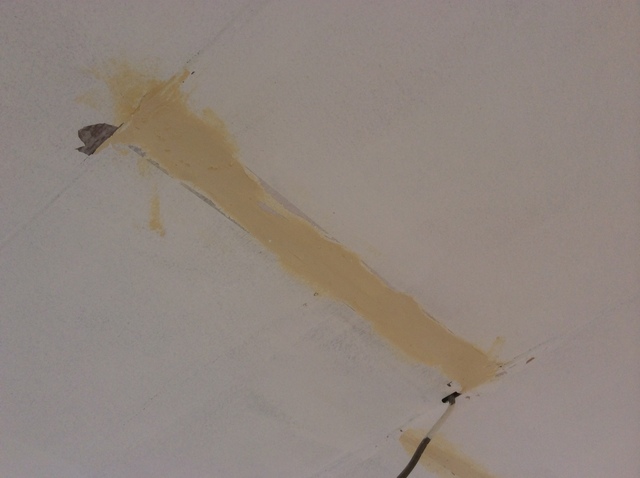
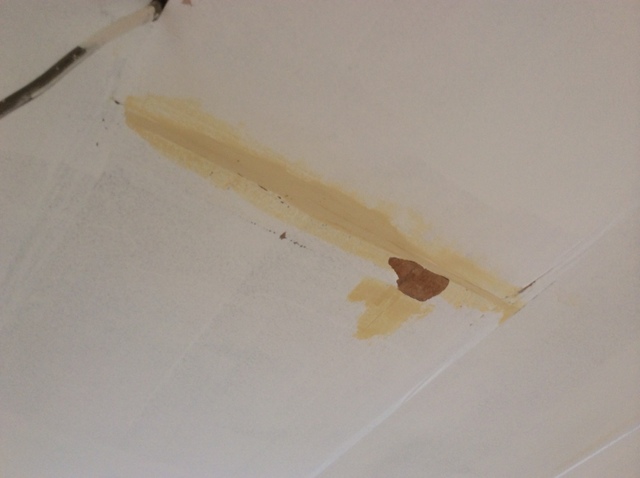
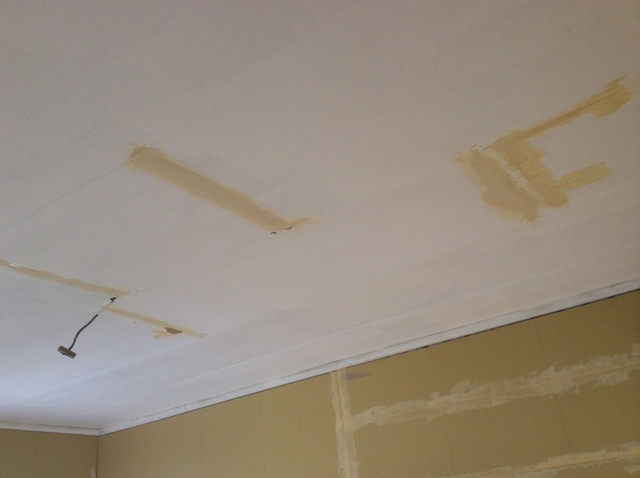
Hi there, DIY Dad here! Time to tackle the ceiling repair. The finishing method is paint.
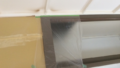
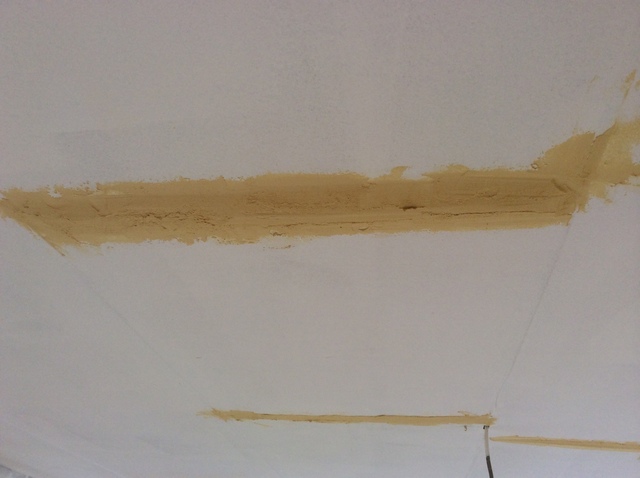
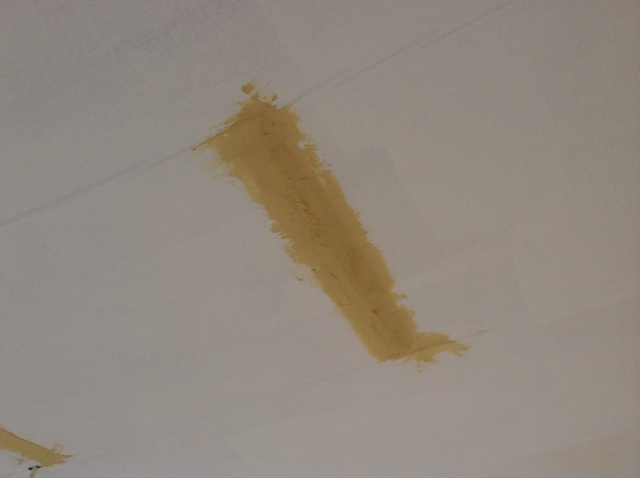
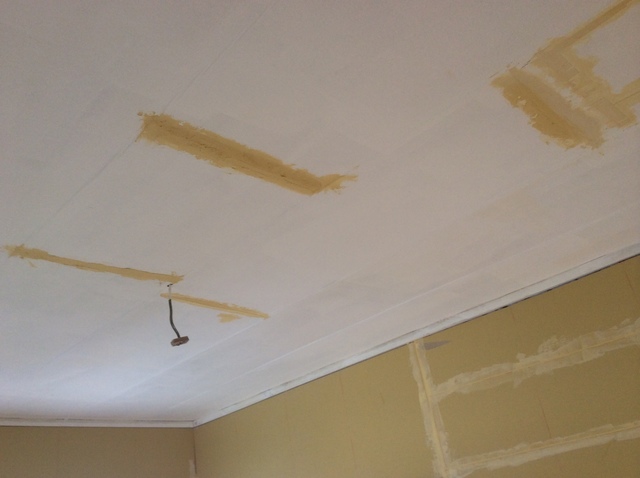
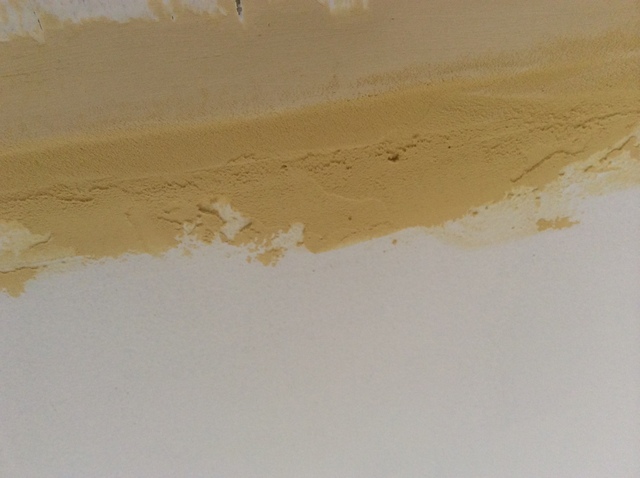
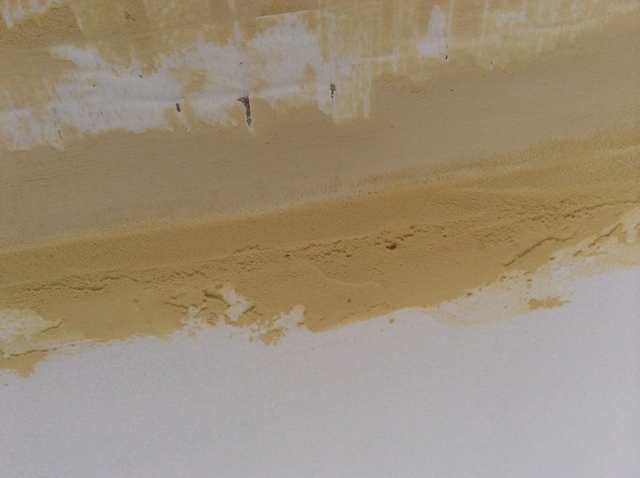
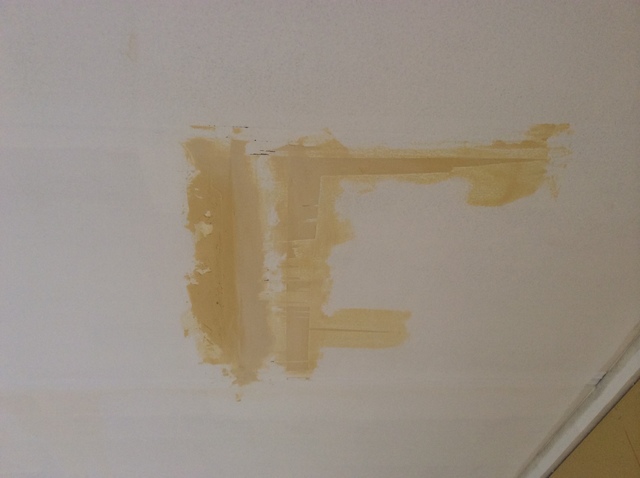
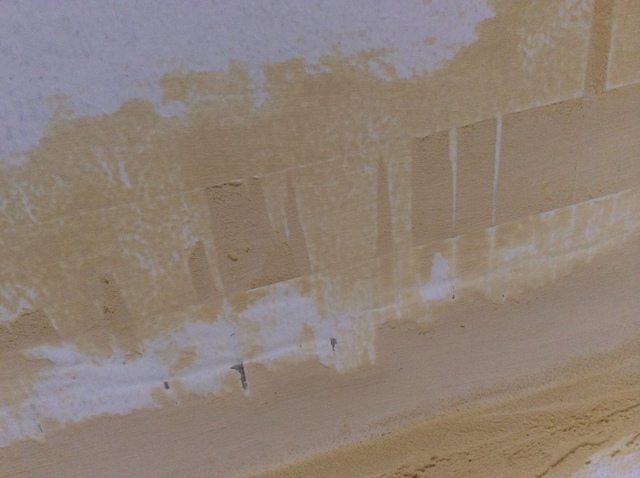
Last time I thought I was done with the finish coat u2014 only to find the surface was way too uneven. It looked terrible, so a do-over was in order. Double-work is the worst. But I’ll apply compound to flatten out the bumps between the patch boards and the existing ceiling. For tools and materials used in compounding work, see DIY Dad’s Tool & Material Guide Vol.3 u2014 Wall Base Prep (5) Plywood and Plasterboard.
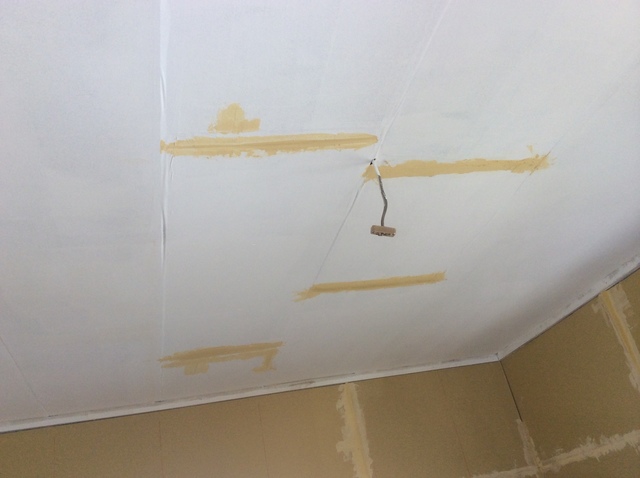
u2192 Ceiling base compound work
u2192 Ceiling base compound work
u2192 Ceiling base compound work
u2192 Ceiling base compound work
u2192 Ceiling base compound work
u2192 Ceiling base compound work
u2192 Ceiling base compound work
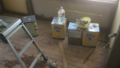
Because compound shrinks as it dries, I layered additional coats in sunken areas. Where there were high spots, I sanded them down instead.
u2192 Ceiling base compound work
u2192 Ceiling base compound work
u2192 Ceiling base compound work
u2192 Ceiling base compound work
u2192 Ceiling base compound work
u2192 Ceiling base compound work
u2192 Ceiling base compound work
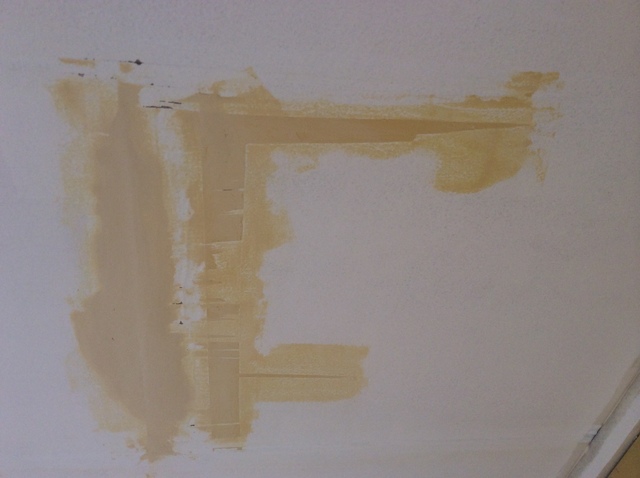
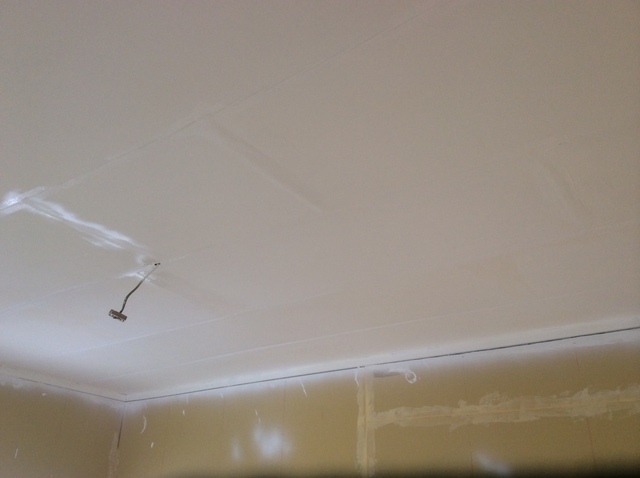
After the compound was done, I repainted.
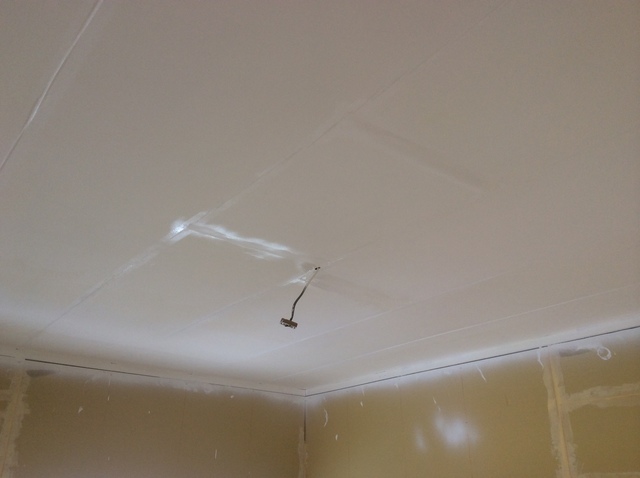
u2192 Finish coat
u2192 Finish coat
u2192 Finish coat
I’d say this is just about passing grade? I’d heard painting is something anyone can do easily u2014 perfect for DIY. Yet DIY Dad has been struggling quite a bit with it. The culprit: cutting corners. Lesson learned: bad shortcuts are always bad. That said, there must be a way to cut corners smartly u2014 and I’m not giving up on finding it! ud83dude04
That’s all for today u2014 see you next time!
DIY Renovation Quote Review Manual
How to read, compare, and negotiate contractor quotes. This manual saved me u00a5800,000 on a single renovation project.
ud83cudfe0 More from DIY Father
15 years of landlord experience u00b7 3 apartment buildings u00b7 DIY renovations that saved millions of yen. Browse all articles at diytosan.com