u2192 Back to all English articles
u270fufe0f Originally published: 2021-11-21 / ud83dudd04 Rewritten: May 8, 2026
- u270fufe0f 2026 Update from DIY Dad: Converting a Traditional Bath to a Unit Bath
- Traditional Bath vs. Unit Bath u2014 What’s the Difference?
- Demolishing the Traditional Bath
- Installing the Unit Bath
- Exhaust Duct Installation Tips
- Actual Renovation Costs (Landlord DIY Example)
- ud83dudec1 For Anyone Considering a Bathroom Renovation
- ud83dudd27 DIY Dad’s Recommended Tools
u270fufe0f 2026 Update from DIY Dad: Converting a Traditional Bath to a Unit Bath
ud83duded2 RECOMMENDED PRODUCTS
Mold-Resistant Bathroom Caulk
Re-caulk every 3u20135 years. Black mold on caulk is the #1 tenant complaint in Japan.
The first-floor bathroom at Apt.1 was an old traditional tile-built bath u2014 and we’re replacing it with a modern unit bath. Bathroom renovation is one of the most specialized types of DIY work out there.
Traditional Bath vs. Unit Bath u2014 What’s the Difference?
ud83duded2 RECOMMENDED PRODUCTS
Bathroom Vanity & Mirror Cabinets
Mirror cabinets add storage and light u2014 tenants notice immediately.
Traditional Bath (Tile-built)
- Tradespeople tile each surface by hand on-site
- Highly customizable, but waterproofing degrades over time
- Common in older properties u2014 prone to mold and cracking
- Renovation is labor-intensive and costly
Unit Bath (System Bath)
- Factory-manufactured panels assembled on-site
- Superior waterproofing; mold-resistant by design
- Easy to clean
- What modern rental tenants expect
From a landlord’s perspective, swapping out an old tile bath for a unit bath is one of the most effective ways to boost occupancy rates.
Demolishing the Traditional Bath
Step-by-step demolition
- Disconnect water supply, hot water, and drain connections
- Break up and remove tile using a hammer and chisel
- Remove waterproof mortar
- Inspect the wooden subfloor and framing
- Repair any rot u2014 this step is critical!
After years of water exposure, the subfloor under a traditional bath is often rotted. The “scary” part of bathroom renovation is that you don’t know the extent of the damage until you open it up. DIY Dad ran into more rot than expected and had to do additional repair work.
Installing the Unit Bath
ud83duded2 RECOMMENDED PRODUCTS
Grout Cleaners & Tile Restoration
Clean grout transforms a dated bathroom without any demolition.
Unit bath assembly is typically handled by a specialist contractor, but you can save a significant amount by splitting the work: contractor for the unit bath itself, DIY for all surrounding work.
DIY-able surrounding work
- Entryway floor repair and step leveling
- Wallpaper around the bathroom
- Ventilation fan and exhaust duct installation
- Partition wall between bath and changing room
By letting the contractor handle the unit bath itself and doing the surrounding work ourselves, we cut total labor costs by roughly 200,000u2013300,000 yen.
Exhaust Duct Installation Tips
- Determine the ventilation fan location (reuse the existing vent hole if possible)
- Run the duct from the fan to the exterior wall
- Waterproof the wall penetration with caulk
- Attach the exterior vent cover
Poor ventilation makes unit baths prone to mold. I recommend choosing a fan capable of running 24 hours a day.
Actual Renovation Costs (Landlord DIY Example)
- Unit bath + assembly labor: approx. 600,000 yen
- Demolition and disposal (DIY-reduced): approx. 50,000 yen
- Surrounding work (DIY, materials only): approx. 30,000 yen
- Total: approx. 680,000 yen
Hiring a contractor for everything can easily run 1.2 to 1.8 million yen. Handling the surrounding work ourselves made a huge difference.
ud83dudec1 For Anyone Considering a Bathroom Renovation
Replacing an old traditional bath with a unit bath dramatically improves cleanliness and usability. DIY Dad kept costs down by taking on parts of the installation directly.
![]()
![]()
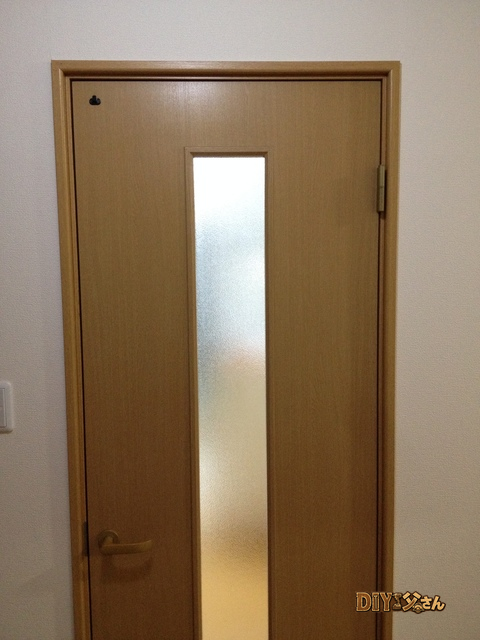
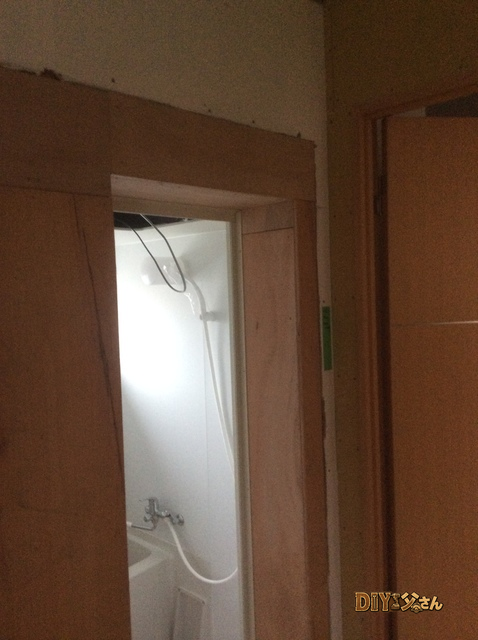
Hi, it’s DIY Dad! The unit bath assembly is complete. Next up u2014 building the surrounding walls and finishing the entryway door area.

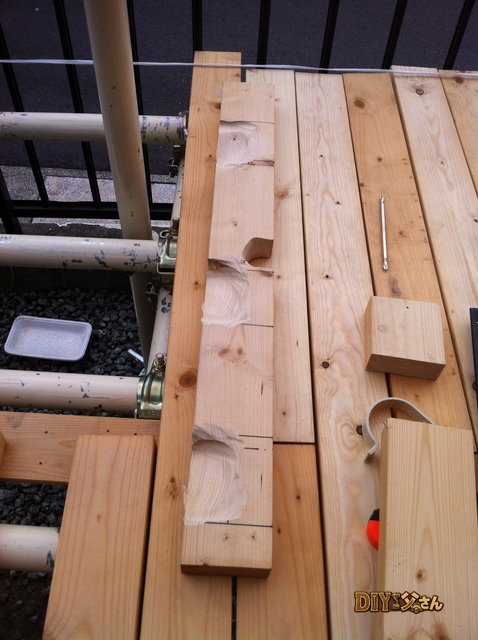
The entryway is next. I need to repair the soft, spongy floor u2014 strip the floorboards, reinforce the joists, then lay new plywood.
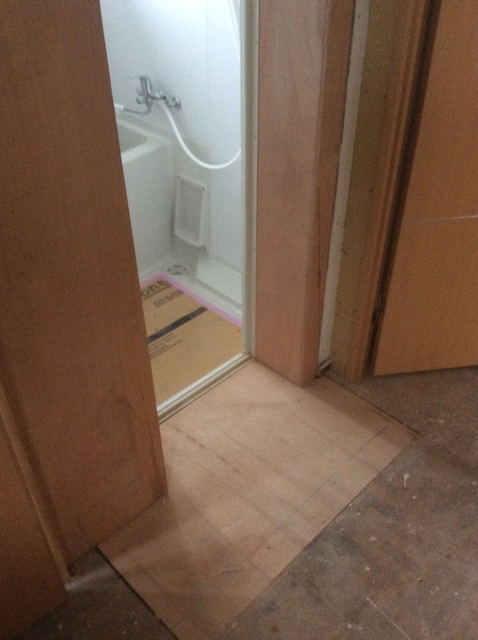
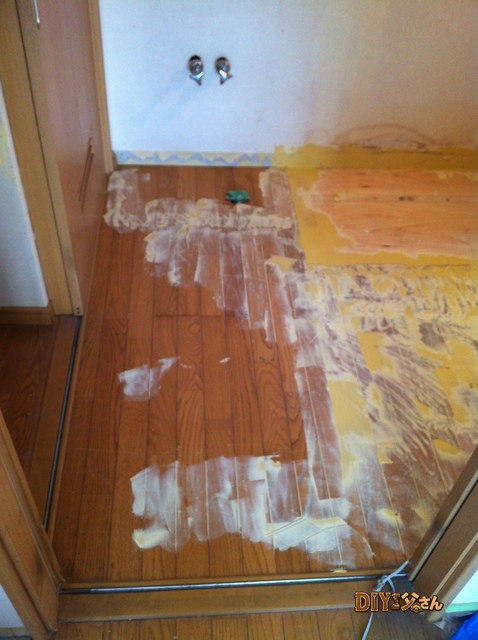
Entryway floor in progress.
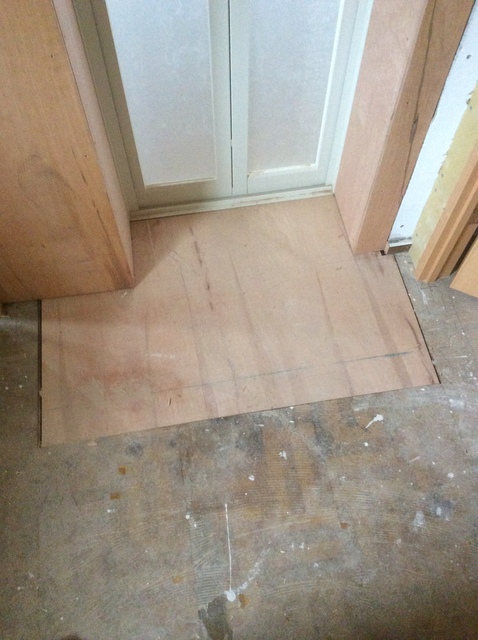
Replacing the damaged section with new plywood u2014 the floor is solid again. In old properties like this, you run into repairs like this all the time. A soft floor is a serious injury risk, so this kind of fix is a must. (Should’ve bought a property that didn’t need so many repairs, but here we are.) That’s all for today u2014 see you next time!
ud83dudd27 DIY Dad’s Recommended Tools
A compact cordless drill-driver set that makes DIY work faster and easier u2014 light enough for anyone to use.

ud83dudcdd DIY Dad’s Paid Note Article
Real-Cost Database: DIY Renovation Expenses & Timelines
Detailed actual cost records from all units across two apartment buildings plus two houses u2014 broken down by wallpaper, flooring, plumbing, and more.
u00a5500 u2014 See the real numbers
DIY Renovation Quote Review Manual
How to read, compare, and negotiate contractor quotes. This manual saved me u00a5800,000 on a single renovation project.
ud83cudfe0 More from DIY Father
15 years of landlord experience u00b7 3 apartment buildings u00b7 DIY renovations that saved millions of yen. Browse all articles at diytosan.com