u2192 Back to all English articles
u270fufe0f Originally published: 2021-09-19 / ud83dudd04 Updated: May 2026
Hi, it’s DIY Dad! Last time we finished the woodwork painting. Before painting the ceiling, I need to mask off the wall-to-ceiling boundary u2014 yes, this step is technically about the ceiling, not the wall, but I’m putting it here. You can file that complaint wherever you like. (laughs)
2026 DIY Dad Notes: 1F Japanese Room Wall Repair u2014 Prep to Wallpaper Finish
ud83duded2 RECOMMENDED PRODUCTS
Fusuma Replacement Paper Kits
Fusuma renewal is the fastest Japanese-room refresh u2014 paper, paste, and 2 hours.
Building on the lessons from the 2nd floor, the 1st-floor Japanese room (u548cu5ba4 washitsu) wall renovation moved more efficiently. Here’s a closer look at the prep steps involved.
Sand Plaster to Wallpaper: Why Surface Prep Matters
Skipping proper prep on old sand-plaster walls causes peeling later. The steps:
- Test the sand plaster’s adhesion u2014 if it crumbles when touched, it needs sealer
- Apply sealer (consolidating primer) over the entire surface
- Once dry, fill surface irregularities with joint compound
- Repeat the patch-then-sand cycle until smooth enough to paper
- Final sealer coat to even out surface absorption
Identifying Old Wall Types
- Sand plaster (u7802u58c1): Rough, sandy. Sealer + patching. Relatively manageable.
- Fiber plaster (u7e4au7dadu58c1): Visible fibers in the surface. May need full removal u2014 fibers prevent compound from bonding properly.
- Juraku (u3058u3085u3089u304fu58c1): Earthen wall, yellow-gray tone. Sealer + patching works, but uneven thickness adds effort.
- Shikkui (u6f06u55b0): Hard white lime plaster. Good condition = sealer only. Poor condition = surface removal required.
“Seal the surface first” is the universal first step regardless of wall type.
Wallpaper Tips for Beginners
- Adhesive: Full coverage on the back of each sheet u2014 any dry spots cause peeling
- First sheet: Perfectly plumb u2014 every sheet follows from this one
- Air removal: Smooth brush from center to edges
- Seam bonding: Seam roller on every joint
- Trimming: Straightedge against the wall, clean knife cut
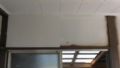
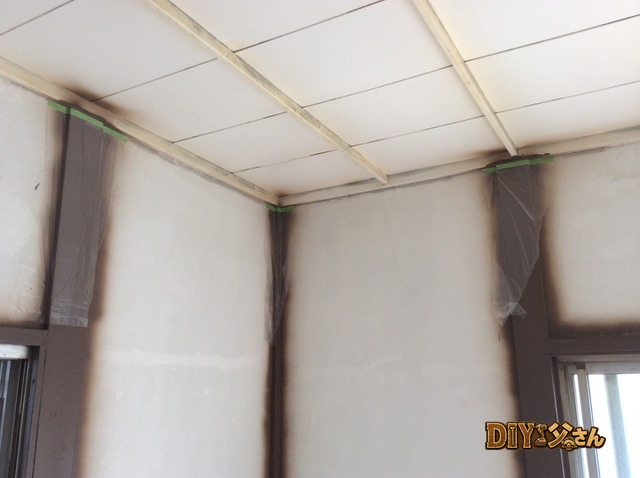
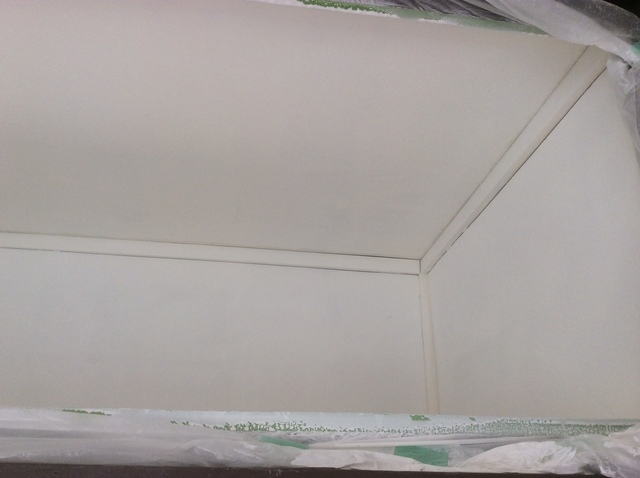
First, the masking u2014 protecting surfaces before painting. It’s tedious work that doesn’t photograph well, but here’s what I have:

Masking
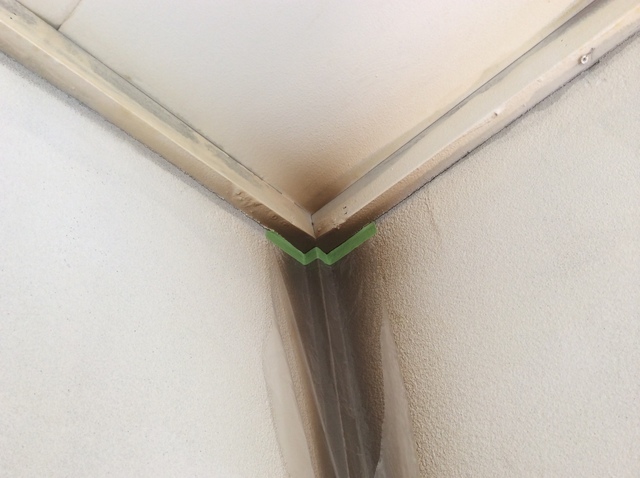
Masking
Masking
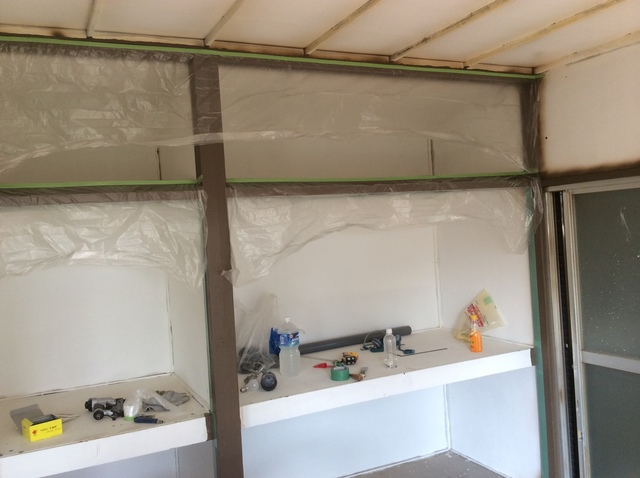
Masking
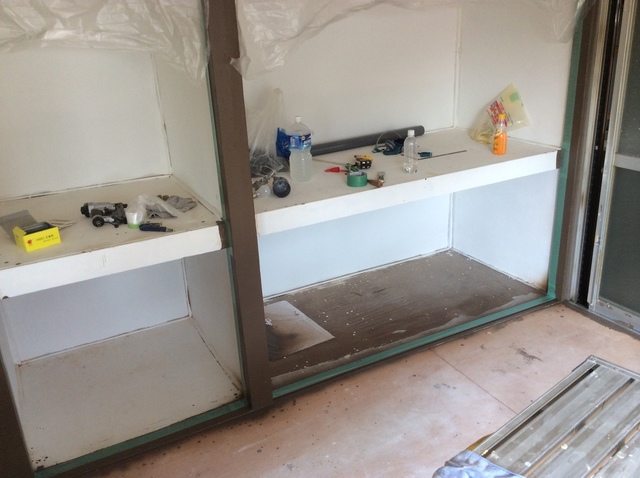
Masking
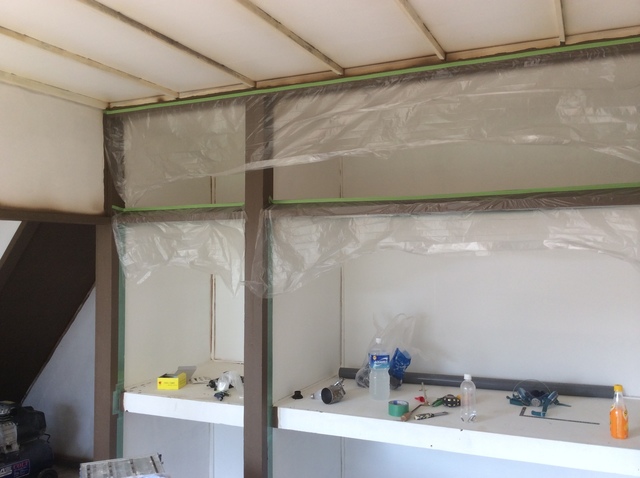
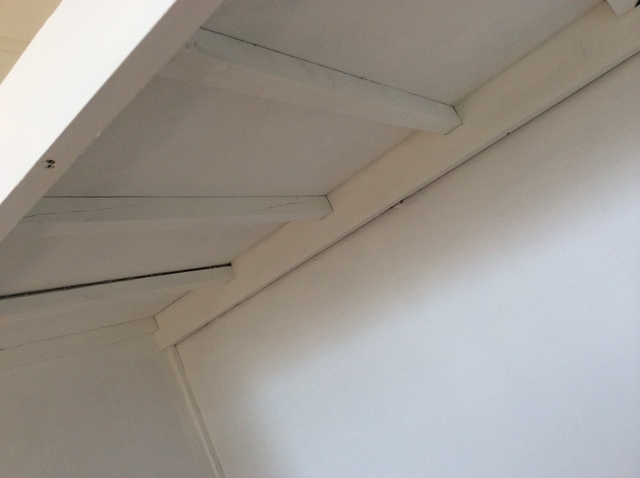
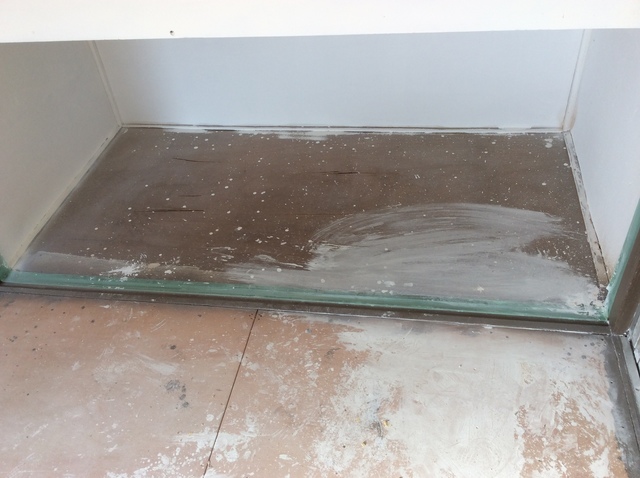
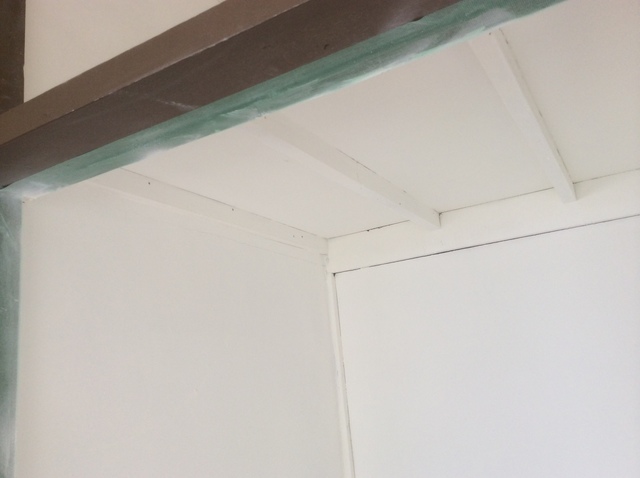
Next u2014 the closet (oshi-ire) gets a second coat of paint.
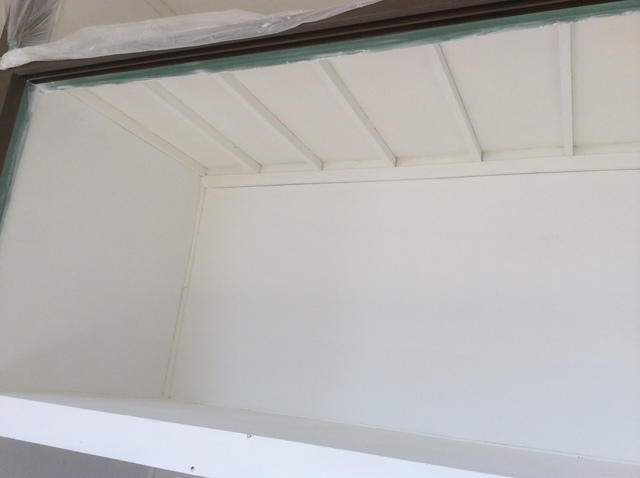
Closet u2014 second coat
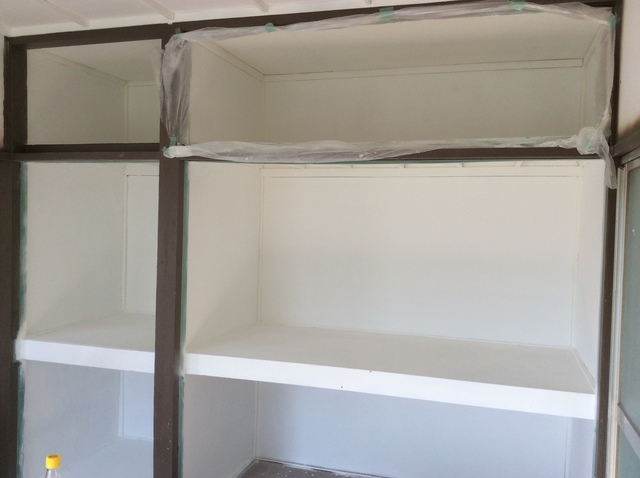
Closet u2014 second coat
Closet u2014 second coat
Closet u2014 second coat
Closet u2014 second coat
Closet u2014 second coat

Closet u2014 second coat
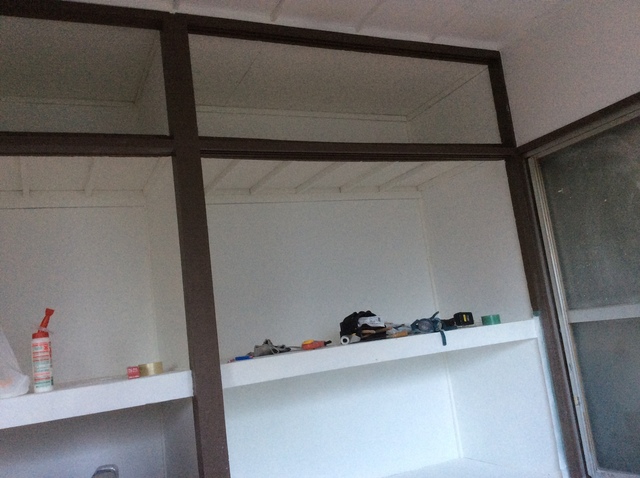
Closet u2014 second coat
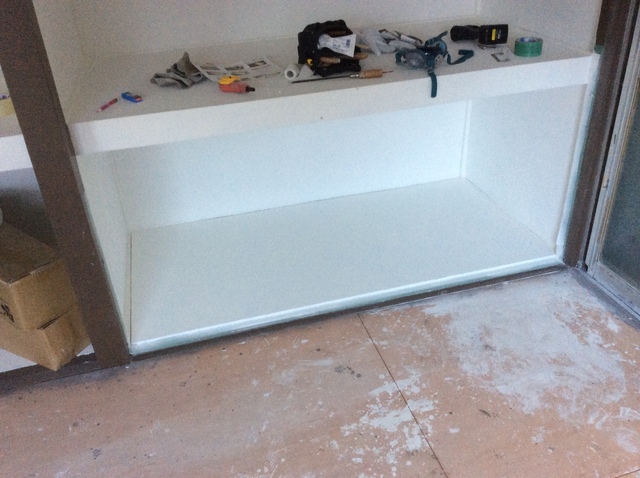
Closet u2014 second coat
I got the finish to the state shown above, but honestly it still didn’t look quite right. Hard to capture in photos, but u2014 it just wasn’t there yet. That’s what the next episode is for. See you next time!
![]()
DIY Renovation Quote Review Manual
How to read, compare, and negotiate contractor quotes. This manual saved me u00a5800,000 on a single renovation project.
ud83cudfe0 More from DIY Father
15 years of landlord experience u00b7 3 apartment buildings u00b7 DIY renovations that saved millions of yen. Browse all articles at diytosan.com