Japanese Drywall and Wall Materials: What Landlords Need to Know
Japanese residential walls are not what you’d expect if you’ve learned DIY from American resources. The materials, construction methods, and repair techniques differ significantly from Western convention, and using the wrong approach causes failures that are expensive to fix. After dealing with wall repairs across properties built in different eras, I’ve built up a practical understanding of what’s behind Japanese walls and how to work with it.
The Main Wall Systems in Japanese Residential Buildings
ud83duded2 RECOMMENDED PRODUCTS
18V Professional Impact Driver
My most-used tool. If you own one power tool, make it this.
Japanese residential buildings use several different wall systems depending on construction era and building type.
- Plasterboard / Drywall (u77f3u818fu30dcu30fcu30c9, u305bu3063u3053u3046u30dcu30fcu30c9): The dominant interior wall material in buildings constructed since the 1970s, and essentially universal in modern construction. Japanese plasterboard (JIS A 6901) comes in the same basic composition as Western drywall u2014 gypsum core faced with paper u2014 but in different standard sizes. The most common is 910mm u00d7 1820mm in 9.5mm and 12.5mm thicknesses. Standard rooms in Japanese apartments use 9.5mm board; 12.5mm is used for fire-rated assemblies and high-performance walls. Available at any home center for u00a51,000u2013u00a51,800 per sheet.
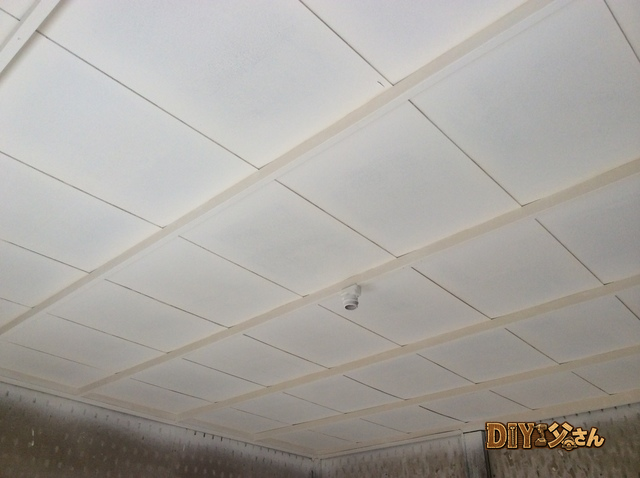
- Lathe and plaster (u6728u647au308au6f06u55b0 / u30e9u30b9u30e2u30ebu30bfu30eb): Found in buildings from before the 1960s and occasionally in high-end traditional construction. The base is wood lath strips or metal mesh over framing, coated with multiple layers of mortar and plaster. Repairs to this system require specific skills u2014 you can’t simply patch plaster with drywall compound. Matching the texture and profile of existing plaster is a specialized skill that often warrants calling a specialist for large areas.
- Vinyl-clad wall panels (u30afu30edu30b9u4e0bu5730): Modern Japanese construction almost universally finishes plasterboard with vinyl wallcovering (u30afu30edu30b9/u58c1u7d19). This changes the repair approach significantly u2014 unlike painted walls where you can fill, sand, and repaint, vinyl-clad walls require either seamless wallpaper patching or full-surface replacement to look right after repair.
Plasterboard Repair: Practical Techniques
ud83duded2 RECOMMENDED PRODUCTS
Power Tool Combo Kit (18V)
Combo kits are always better value than individual tools u2014 one battery charges all.
Small holes (nail holes, minor impact damage under 20mm) and large holes (where a doorknob has punched through) require different approaches.
- Small holes (under 10mm): Fill with joint compound or a purpose-made wall repair product like the Cemedine Wood Patch or the Konishi Wall Repair Kit. Apply with a putty knife, let dry completely (usually 24 hours for standard compounds), sand smooth, then address the wallpaper or paint surface separately.
- Medium holes (10mmu2013100mm): The California patch technique u2014 cut a square around the damage, cut a patch piece slightly larger, score the back face and snap off the plaster while leaving the paper face intact, fold the paper face back, insert the plaster core into the hole, and tape the paper face to the surrounding wall. Finish with joint compound. This creates a self-supporting patch without additional backing materials.
- Large holes (over 100mm): Cut back to the nearest framing members (studs are typically 455mm on-center in Japanese construction, or 303mm in some systems). Install horizontal blocking between studs if needed, screw in a new piece of plasterboard, tape all joints, and finish with two to three coats of joint compound. The finished plasterboard surface needs to match existing wall texture before wallpaper application.
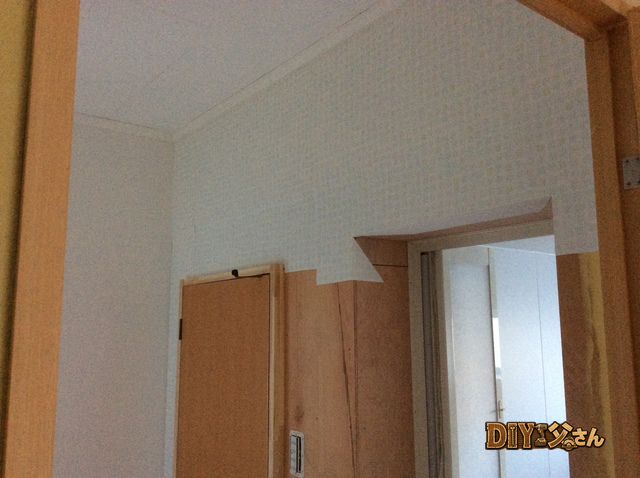
Working with Japanese Vinyl Wallcovering (u30afu30edu30b9)
Vinyl wallcovering is the finish surface for most Japanese rental property walls, and it fundamentally changes the repair workflow compared to painted walls.
- Minor damage (small tear, bubble, minor peeling at seam): Use wallpaper adhesive (u58c1u7d19u306eu308a) to re-adhere loose sections. The Konishi Nori (around u00a5500u2013u00a5800 per tube) works well for small area re-adhesion. Smooth out bubbles with a seam roller while the adhesive is wet.
- Large damaged areas: Full panel replacement is often more practical than patching. Japanese wallcovering is installed by the meter roll (52cm wide is the standard roll width for residential use). If you can identify the pattern and source a matching roll, you can replace individual panels section by section. DIY wallpaper replacement is learnable u2014 the tools required are a smoothing brush, seam roller, and wallpaper knife, plus wallpaper paste. A complete room can be done by a careful landlord for u00a55,000u2013u00a515,000 in materials.
Specialty Wall Materials to Know
ud83duded2 RECOMMENDED PRODUCTS
Tool Storage & Workshop Organizer
A well-organized toolbox saves 20 minutes on every job. Multiply that by 100 repairs.
- Moisture-resistant plasterboard (u8010u6c34u77f3u818fu30dcu30fcu30c9): Green-tinted board with improved moisture resistance for bathroom and kitchen applications. This is not waterproof, but it resists casual moisture far better than standard board. Always use this type behind tile in wet areas. Available at home centers for u00a51,500u2013u00a52,500 per sheet.
- Soundproofing board (u906eu97f3u77f3u818fu30dcu30fcu30c9): Higher density board used in party walls between units. Heavier and more expensive than standard board but important for maintaining acoustic separation in multi-unit buildings.
- Fiber cement board (u30b1u30a4u30abu30ebu677f): Non-combustible, dimensionally stable, and moisture-resistant. Used in fire-rated assemblies, exterior soffits, and around fireplaces. Not patchable with standard drywall techniques u2014 treat as a separate material requiring different fasteners and finish approaches.
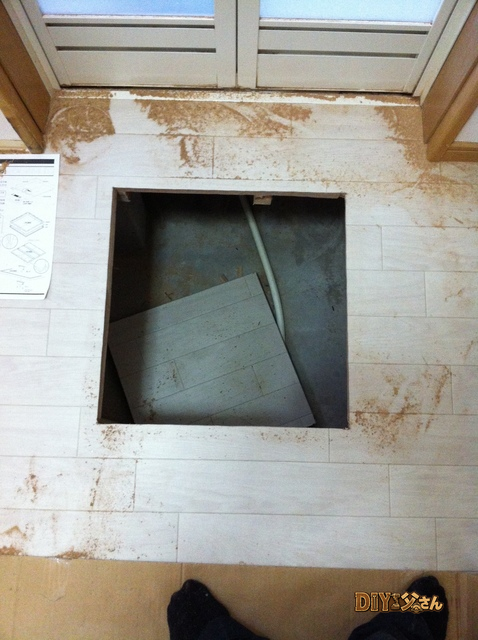
Understanding what’s behind the surface is essential before starting any wall repair. Probe, tap, and inspect before cutting. The time invested in understanding the wall assembly saves you from repair approaches that fail within months.
ud83cudfe0 More from DIY Father
15 years of landlord experience u00b7 3 apartment buildings u00b7 DIY renovations that saved millions of yen. Browse all articles at diytosan.com