ud83dudcda Kitchen 2 Renovation Series u2014 3 of 45
u2190 Kitchen2 Vol.2: Light Switch Installation u00b7 Series Index u00b7 Kitchen2 Vol.4: Gas Equipment Removal Pt.1 u2192
u270fufe0f Originally published: 2016-12-21 / ud83dudd04 Updated: May 8, 2026
- u270fufe0f 2026 Update from DIY Dad: Kitchen Renovation Overview and Safety Notes
- Mapping Out the Kitchen Renovation Scope
- Never DIY Gas Equipment
- Ventilation Fan Cleaning Is Fully DIY-Capable
- As a Landlord: The Cost-Effectiveness of Kitchen Renovation
- ud83cudf73 For Anyone Considering a Kitchen Renovation
- The Actual Gas Stove Removal Work
u270fufe0f 2026 Update from DIY Dad: Kitchen Renovation Overview and Safety Notes
ud83duded2 RECOMMENDED PRODUCTS
Modern Kitchen Cabinet Handles
New handles cost u00a53,000u20138,000 and make a kitchen feel 10 years newer instantly.
Finally, the kitchen. Of all the areas in the renovation, the kitchen is where DIY Dad proceeded most carefully u2014 it’s where gas, water, and electricity all meet in one place. (lol)
Mapping Out the Kitchen Renovation Scope
ud83duded2 RECOMMENDED PRODUCTS
Kitchen Faucets
A faucet upgrade is the single highest-impact kitchen DIY per yen spent.
What DIY Dad did (and was able to do) in the kitchen:
- Switch and outlet plate removal and reinstallation
- Ventilation fan disassembly, cleaning, and reinstallation
- Wall wallpaper replacement
- Floor cushion flooring replacement
- Wall cabinet removal and cleaning
What DIY Dad did NOT do (left to professionals):
- Gas range removal and installation (requires certified gas fitter)
- Gas piping relocation (same requirement)
- Conversion from gas to IH induction (requires licensed electrician)
Never DIY Gas Equipment
Gas piping work u2014 connecting, removing, or relocating gas lines u2014 requires a certified gas fitter or LP gas equipment installer. Doing this without a license is not only illegal, it creates real risk of gas leaks and explosions.
DIY Dad’s rule is absolute: all gas-related work goes to a professional. This isn’t about capability u2014 it’s about what must not be attempted. m(_ _)m
Ventilation Fan Cleaning Is Fully DIY-Capable
ud83duded2 RECOMMENDED PRODUCTS
Kitchen Backsplash Tile Kits
A tiled backsplash protects the wall and dramatically upgrades the kitchen appearance.
Kitchen ventilation fans accumulate heavy grease buildup, but with proper disassembly and cleaning they come out looking almost new.
DIY Dad’s ventilation fan cleaning procedure:
- Step 1: Turn the circuit breaker OFF
- Step 2: Disassemble the filter, propeller, and casing
- Step 3: Soak in baking soda + hot water (80u00b0C) for 30 minutes
- Step 4: Scrub fine details with an old toothbrush
- Step 5: Dry completely, then reassemble and test
Cleaning the fan alone transforms the feel of the entire kitchen u2014 and costs far less than buying a replacement unit. ^ ^
As a Landlord: The Cost-Effectiveness of Kitchen Renovation
The kitchen is one of the “three factors that determine property value” (alongside the entrance and bathroom). Improving it noticeably supports rental pricing and occupancy rates.
That said, replacing an entire system kitchen u2014 including labor u2014 can run u00a51,000,000u2013u00a53,000,000. DIY Dad’s philosophy is: keep the structure, maximize cleanliness. Just replacing the wallpaper, ventilation fan, cushion flooring, and caulk produces a dramatic visual improvement. m(_ _)m
ud83cudf73 For Anyone Considering a Kitchen Renovation
The kitchen is the most challenging area in any renovation u2014 gas, electrical, and plumbing all converge here. DIY Dad’s rule is firm: gas equipment is always handled by a professional. (lol)
Visiting a showroom to see products in person prevents unwanted surprises. Most are free to visit. ^ ^
![]()
Marutoku Shop u2014 Find wood and kitchen materials u00bb
The Actual Gas Stove Removal Work
Hi there u2014 DIY Dad here. ^ ^ Continuing with the 1F kitchen renovation. Following the small fixture removal, we now remove the gas stove. Tool used: screwdriver.
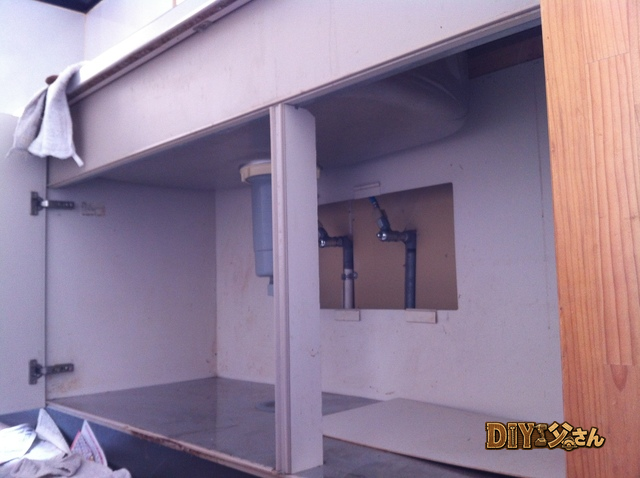
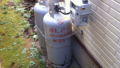
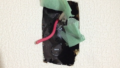
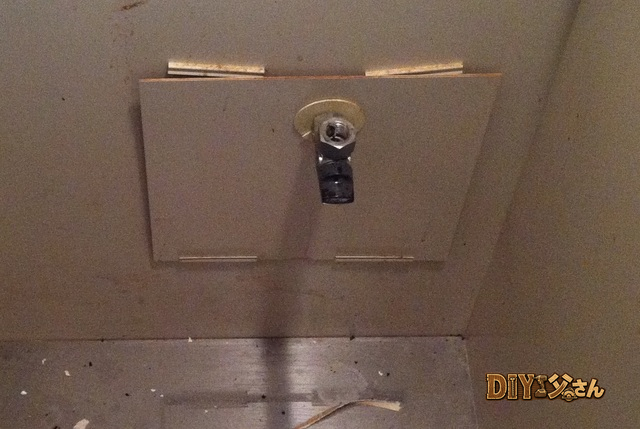
Open the cabinet door below the cooktop and look up from underneath. Close the gas shutoff valve. Disconnect the gas hose.
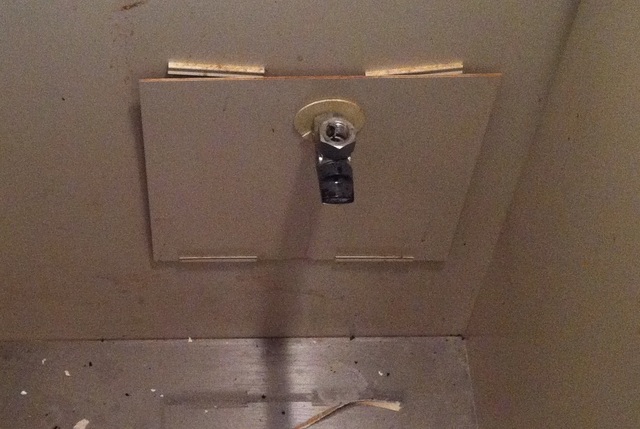
u2191 The gas shutoff valve.
The gas range is secured to the opening with brackets. Loosen the screws and the brackets release. Then lift the range straight up and out. Done.
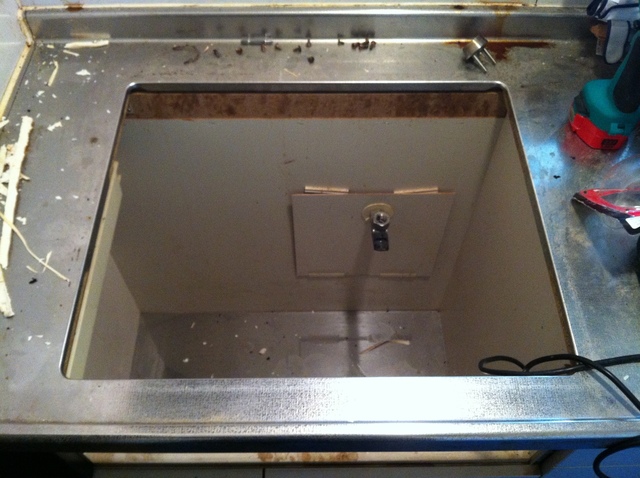
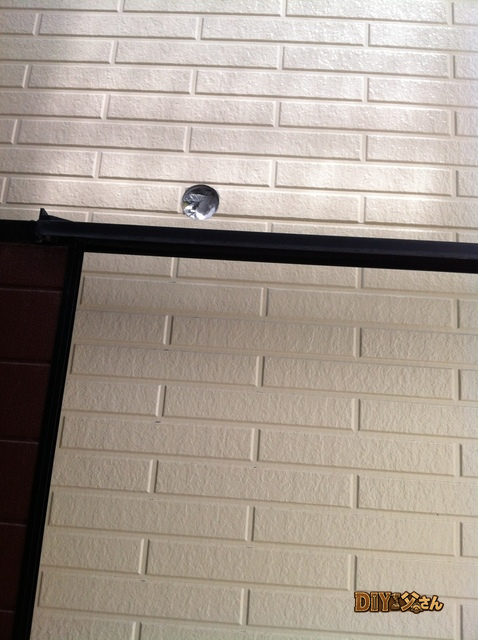
u2191 The opening after removal.
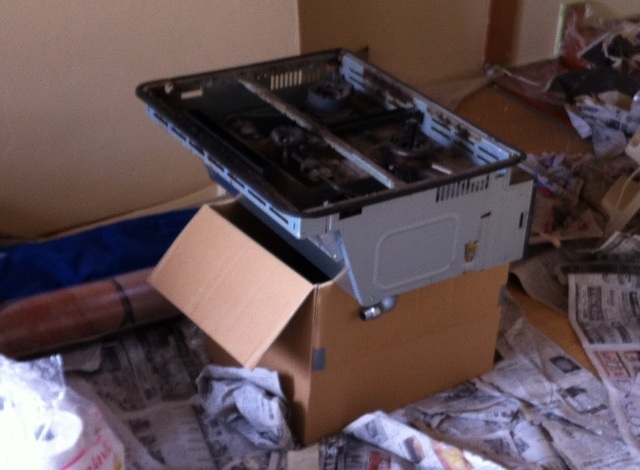
u2191 The removed gas range.
Absolutely caked in grease. DIY Dad is briefly taken aback by the state of it. (uffe3u25c7uffe3;) The range itself is going out for disposal, but the surrounding area is just as coated. This was expected u2014 but the cleanup ahead is going to be a real challenge. ^^;
That’s it for today! (^^)/~~~
ud83dudcda Kitchen 2 Renovation Series u2014 3 of 45
u2190 Kitchen2 Vol.2: Light Switch Installation u00b7 Series Index u00b7 Kitchen2 Vol.4: Gas Equipment Removal Pt.1 u2192
DIY Renovation Quote Review Manual
How to read, compare, and negotiate contractor quotes. This manual saved me u00a5800,000 on a single renovation project.
ud83cudfe0 More from DIY Father
15 years of landlord experience u00b7 3 apartment buildings u00b7 DIY renovations that saved millions of yen. Browse all articles at diytosan.com